Getting Started With Clay: A Comprehensive Guide
Clay is a fine-grained natural material that is plastic when wet and hardens when heated, consisting primarily of hydrated silicates of aluminum (https://en.wikipedia.org/wiki/Pottery). It has been used to make pottery and ceramics for thousands of years.
The earliest known use of clay for pottery dates back over 29,000 years ago, with artifacts like the Venus of Dolní Věstonice figurine found in the Czech Republic (https://deneenpottery.com/pottery/). Pottery was developed independently in many places throughout the world, with early examples found in East Asia, Sub-Saharan Africa, South America, and the Near East.
There are several different types of clay, including earthenware, stoneware, ball clay, fire clay, and kaolin. The different types have varying properties that make them suitable for different uses. Clay is commonly used to create pottery, ceramics, bricks, tiles, sculptures, and more (https://www.lakesidepottery.com/HTML%20Text/brief%20history%20of%20clay_pottery.htm).
Clay Tools and Materials
When working with clay, having the right set of tools makes the process easier and allows for more creative expression. Whether handbuilding or throwing on the wheel, clay tools serve purposes like wedging, cutting, sculpting, smoothing, etching, and more. Here are some of the most common and important clay working tools:
Basic handbuilding tools include wooden ribs for smoothing and shaping, loop tools for detailing and carving, clay cutters like wires and knives for slicing clay, and sculpting tools like ribs, loop tools, and wooden modeling tools for forming clay by pushing, pulling, and scoring. Texture tools like ribs, rollers, and stamps can create interesting surfaces.
For throwing on the wheel, potters use rib tools for shaping, trimming tools like calipers and loop trimmers for refinement, and cutting wires for separating pieces. Needle tools aid in making finishing touches and signing work.
In addition to specialized tools, basic materials are needed for working with clay. These include different types of modeling, firing, and specialty clays. Slips and engobes allow adding color and textures. Clear glazes are used to seal and finish clay pieces while colored glazes produce glossy decorative effects. Paints and stains add detail and vibrancy to finished clay work.
Clay Safety
Working with clay requires taking proper safety precautions. Here are some key tips for staying safe:
Ensure the studio has proper ventilation and dust collection systems. Clay dust contains silica which can cause lung disease if inhaled regularly without protection. Use a respirator or dust mask when cleaning the studio or working in dusty conditions (source).
Avoid sweeping up dry clay scraps which creates dust. Instead, regularly sponge and wet mop all surfaces. Allow clay scraps to harden before removing them to avoid generating dust.
Wash hands thoroughly after working with clay. Use moisturizer to avoid drying and cracking skin which can collect clay particles. Keep fingernails trimmed to discourage clay collection underneath them.
Use tools properly – don’t pound them or use them for purposes other than intended. Store tools safely and neatly. Wipe down after use to avoid buildup of clay that can dry and flake off.
Take breaks during long work sessions. Listen to your body and stop if you feel eye, muscle or joint strain.
Clay Handbuilding Techniques
Handbuilding is creating pottery using only your hands and simple tools, without the use of a pottery wheel. There are several techniques that fall under the category of handbuilding:
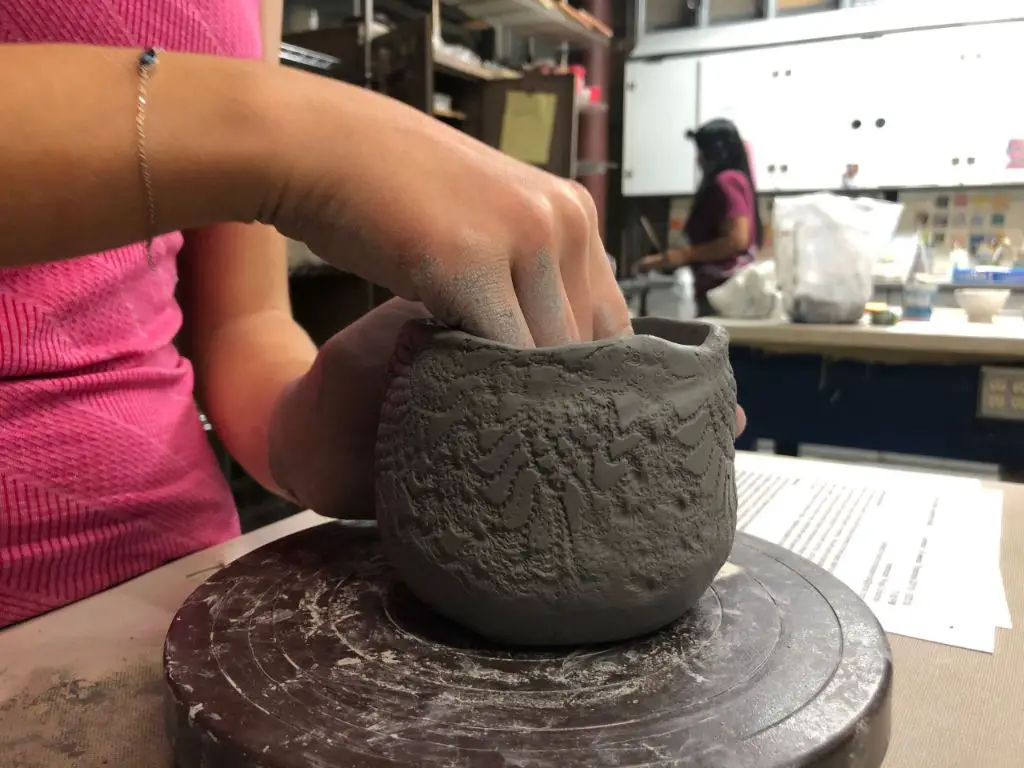
Pinching involves taking a ball of clay and squeezing it between the thumb and fingers to form a vessel. Pinch pots are made completely by hand without any tools. This is one of the most direct and primal ways to shape clay.
With coiling, ropes of clay are rolled out and then stacked to build up the form. The coils are smoothed together using the fingers and a tool like a rib. Coiling is often used for making large pieces like jars or vases.
Slab building uses flat pieces or slabs of rolled out clay. The slabs are cut into shapes and joined together by scoring and slipping. Slab building allows for great control and is good for making free-form sculptural pieces.
Slump molds can be used to shape solid clay slabs. The flexible clay is draped over or pressed into a mold, allowing it to slump naturally into the form. This is an easy handbuilding technique for duplicating shapes.
Draping involves laying soft slabs of clay over an object to pick up its shape. The clay hardens as it dries, capturing the unique contours underneath.
With practice, handbuilding allows artists to create amazing pottery without ever touching a pottery wheel. The techniques can be combined for added creativity and individual expression.
Sources:
https://ceramicartsnetwork.org/daily/handbuilding-techniques
https://www.thecrucible.org/guides/ceramics/handbuilding/
Clay on the Wheel
The potter’s wheel is an essential tool for shaping clay into round symmetrical forms. Before getting started on the wheel, it’s important to understand the different parts and how they work together.
The wheel head is the round disc that rotates. Clay is attached to the wheel head before throwing. There are different types of wheels with electric or kick power to rotate the wheel head.
The splash pan sits under the wheel head to catch any stray clay and water drips. The wheel usually has a pedal or button to control the speed and start/stop the rotation.
Once you have centered a ball of clay on the wheel head and begun opening up a cylinder, the walls need to be pulled up and extended to the desired height. Place one hand inside the cylinder opening and the other on the outside to pull the walls thinner and higher. Applying even pressure on both sides is key.
Additional clay can be added by pinching or pulling scraps onto the rim as you shape the piece. Using various tools, the rotating clay can be sculpted into the intended form such as a vase, bowl, mug or pitcher.
When the final shaping is complete, run a wire tool under the bottom to cut the piece off of the wheel head. Then the clay can be set aside to firm up before drying and firing. With practice, the meditative process of wheel throwing allows endless creativity and satisfaction.
Textures and Surface Treatments
There are a variety of techniques that can be used to add interesting textures and surface treatments to clay pieces. Some common techniques include:
Press Molds
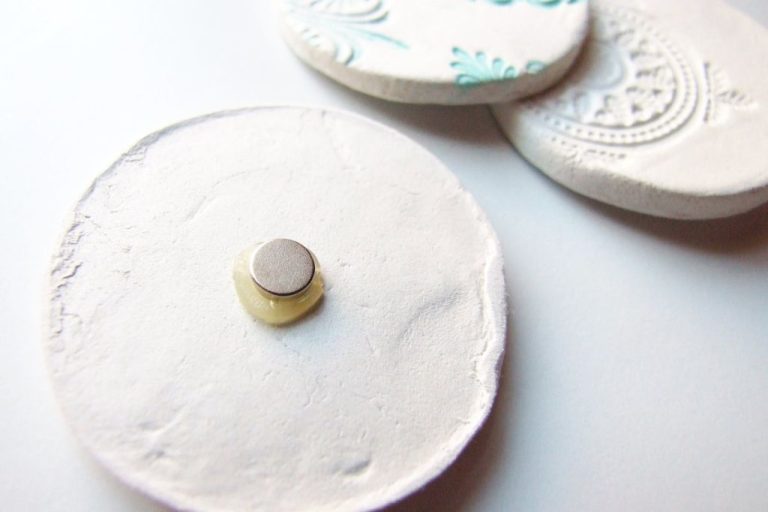
Press molds involve pressing soft clay into a mold to pick up a texture or pattern. The mold can be pressed into the clay gently, or the clay can be firmly pressed into the mold. Press molds are useful for easily achieving consistent surface textures like basketweaves, shells, leaves, etc. Source
Stamps
Stamps and rollers with relief designs can be pressed into soft clay to leave impressions. Letter stamps can also be used to add text elements. Using multiple stamps in a repeated pattern or random composition creates decorative effects. Stamps with animal shapes, geometric patterns, or custom designs allow for creative options. Source
Scraping
Scraping the surface of leather-hard clay creates lines and textures. Tools like loops, combs, forks and serrated ribs can etch parallel lines. Scraping in curves, circles or zigzags makes more organic textures. Combine scraping with paddling for contrasting effects. Source
Piercing
Piercing involves cutting shapes out of leather-hard clay. A knife, needle tool or sharp object is used to carve lines, holes or lace-like patterns. Piercing creates negative spaces and openings for light to shine through. It works well on sculptural pieces and handbuilt vessels.
Faceting
Faceting is the technique of creating flat planes on the clay surface. Clay can be cut into geometric shapes at various angles. The angled planes reflect light to give a multifaceted appearance. Faceting works well on vase forms, boxes and sculptural works.
Burnishing
Burnishing compresses and smoothes the clay surface. A wet or dry, smooth tool like a ceramic rib, wooden spoon, soft sponge, or stone is rubbed vigorously on the leather-hard clay. Burnishing creates a shiny surface and can accentuate carved textures.
Drying and Greenware
After clay pieces are shaped and finished, they contain a high water content and must be dried carefully before firing in a kiln. The drying process transforms the wet clay into a hardened, durable material called greenware. Slow drying is key to preventing warping and cracking at this vulnerable stage. Here are some tips for proper clay drying:
Allow clay to dry slowly in a cool, ventilated space out of direct sunlight. Quick drying can cause moisture to evaporate from the surface faster than the interior, resulting in cracks as the exterior shrinks around the wet interior. Tenting greenware with plastic helps regulate evaporation. Allow air circulation inside the tent and replace any wet cloths daily.
Support pieces on all sides as they dry and shrink to prevent slumping and warping. Place soft materials like foam or cloth underneath to allow even drying. Flip pieces regularly so no side dries faster than others.
Keep greenware moist and workable by wrapping air-tight in plastic when not drying. Rewetting leather hard clay prevents cracking. To reuse dry scraps, break up and resoak in water.
Check for dryness by examining color and pressing into the clay. When greenware feels cool, firm, and lightweight it is ready for the kiln. Avoid over-drying which weakens clay structure.
Firing Clay
Firing clay is the critical process that transforms moist clay into a finished, durable ceramic material. There are several key types of firings:
Bisque Firing
The first firing of unfired clay is called a bisque firing. This is typically done between cone 04 and cone 06 (around 1800°F – 1900°F). Bisque firing further dries and hardens the clay body, making it less porous and absorbing. It prepares the clay for glazing and additional firings. Firing Clay: Ten Basics of Firing Electric Kilns
Glaze Firing
After bisque firing, clay can be glazed and fired again to melt and fuse the glaze to the clay body. Glaze firings are done between cone 06 and cone 10 (about 2150°F max) depending on the glaze. Higher temperatures make glazes more durable. 10 Tips for Firing Clay in an Electric Kiln
Raku Firing
Raku is a specialized low-temperature glaze firing technique. Pieces are fired quickly and removed from the kiln while red hot to produce unique crackled effects. Raku is fired between cone 06 and cone 08 (about 1800°F-1900°F).
It’s important to follow manufacturer recommendations for firing temperatures of specific clay bodies and glazes. Testing on kiln posts can help dial in ideal temperatures.
Applying Color to Clay
There are several methods for adding color to clay:
Glazes
Glazes are glass-like coatings that are applied to bisqueware clay before the final firing. They melt and fuse to the clay body during firing to create a colored glossy surface. Glazes come premixed or as dry powder to be mixed with water. They can be brushed, dipped, or sprayed onto the clay surface.[1]
Underglazes
Underglazes are ceramic stains that are painted onto raw or bisque clay before being covered with a transparent glaze and fired. The glaze seals and enhances the underglaze. Underglazes come in a wide variety of colors. They can be painted on using brushes, sponges, stamps, or other tools to create designs.[1]
Slips
Slips are fluid clay suspensions of fine clay particles and water. They are used to coat the clay body to change its surface color and texture. Slips can be colored with stains and applied by brushing, dipping, or pouring onto leather-hard or bisqueware clay.
Engobes
Engobes are very similar to slips, but contain clay and other non-plastic materials such as feldspar or flint. They tend to be thicker, opaque, and provide more surface control than slips. Engobes are applied to leather-hard or bisque clay.
Stains
Stains are concentrated ceramic pigments suspended in water for coloring slips, engobes, and underglazes. Metal oxide stains produce a wide spectrum of colors. Stains can be painted directly onto bisqueware as well.
Lusters
Lusters produce an iridescent metallic shine when fired onto a glazed surface at a low temperature. Common lusters include gold, silver, copper, and mother-of-pearl effects.
China Paints
China paints are a specialty medium containing pigment for painting directly onto glazed and fired porcelain or china. The porcelain absorbs the color during subsequent firing at low temperatures. China paints allow for precise detailing.
Protecting and Displaying Clay Work
Once you’ve created a clay piece and fired it, you’ll want to take steps to protect it and properly display it. Here are some tips on sealing, waxing, stands, storage, repairs, and photographing clay work:
Sealing and waxing clay provides an extra layer of protection against moisture and prevents dust from accumulating. A sealant like polyurethane can be brushed on before the final firing. Wax products like paste wax or carnauba wax can be applied after firing. Be sure to follow manufacturer instructions closely.
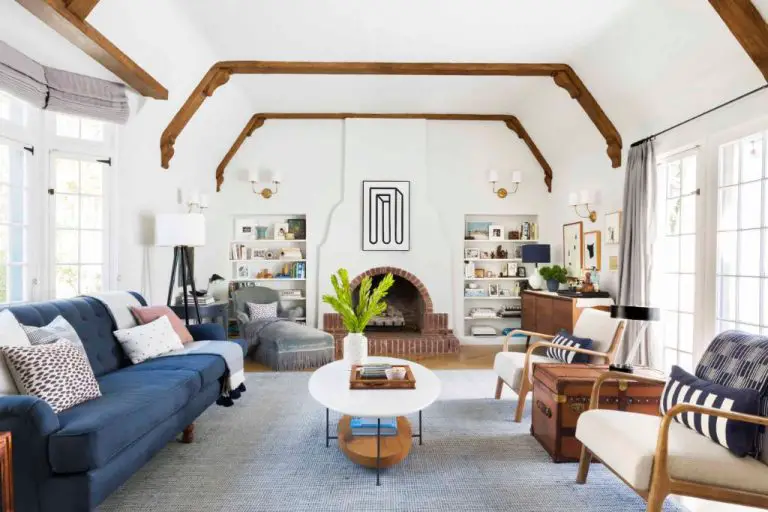
Choosing the right stand is important for displaying clay work. Opt for neutral colored stands in wood, acrylic, or metal so the stand doesn’t distract from the art. Make sure the stand offers stability and adequately supports the weight of the piece (Town & Country Living). Group pieces of similar color and style together for impact.
Properly storing fired clay keeps pieces safe and prevents damage. Avoid drastic temperature changes by storing clay away from windows, vents, and exterior walls. Use acid-free tissue paper between stacked pieces and store fragile work on soft surfaces. Displays inside cabinets with glass doors also protect work.
Repairing chips or cracks in fired clay takes patience but prevents further damage. Use liquid clay or porcelain repair compounds to fill chips. Epoxy adhesives work for cracks and breaks. Sand and buff repairs smooth once dry. Consider leaving natural flaws that don’t affect structural integrity.
Photographing clay work creates a portfolio and record of pieces. Use indirect natural light, a clean background, and an angle that captures the entire work. Take pictures at key stages like before/after firing and share photos on social media or portfolios.