Sculpting Excellence: Advanced Tips For Clay Artists
Choosing the Right Clay
Selecting the appropriate clay is one of the most crucial steps for sculptors. The type of clay determines the characteristics of the finished piece, such as durability, texture, and firing requirements. When choosing clay, consider the key properties of the main clay categories:
Porcelain – Very fine, white clay that becomes vitrified and translucent after high firing above 2200°F. Porcelain is strong and durable for functional wares and delicate sculptures. However, it can be prone to chipping when worked thin.
Stoneware – Dense clay that becomes water-resistant after firing between 2100°F-2300°F. Stoneware has high plasticity for throwing and handbuilding. It’s an excellent general-purpose clay suitable for both sculptures and functional pottery. Some stoneware can withstand repeated freezing and thawing.
Earthenware – Coarse clay fired up to 2100°F. Earthenware is highly plastic and easy to work with, making it ideal for beginners. It’s suitable for handbuilding and sculpting figures. However, earthenware is porous and brittle unless glazed.
Consider the desired characteristics and end use when selecting clay. Sculptural pieces fired at higher temperatures will be more durable for outdoor use. For intricate details, choose a smooth, refined clay like porcelain. Student-grade clays often provide the most versatility and value for practice and experimentation. Always source clay from reputable ceramic suppliers that provide information on clay properties, ingredients, and firing recommendations.
Some top-recommended clays for sculpting include:
– Potclays S20 Stoneware: https://www.sculptureatelier.com/blog/what-clay-should-i-use-to-start-sculpting
– Laguna B-Mix 5: https://www.lakesidepottery.com/Pages/Pottery-tips/choosing-the-right-clay-type.htm
Essential Sculpting Tools
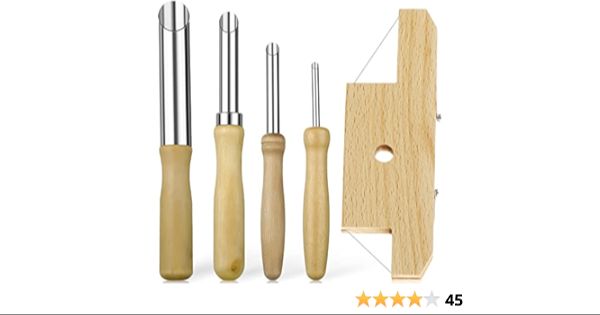
Having the right sculpting tools is critical for executing your artistic vision. As a clay artist, you’ll need tools for shaping, texturing, cutting, and detailing your creations. Here are some essential supplies every sculptor should have.
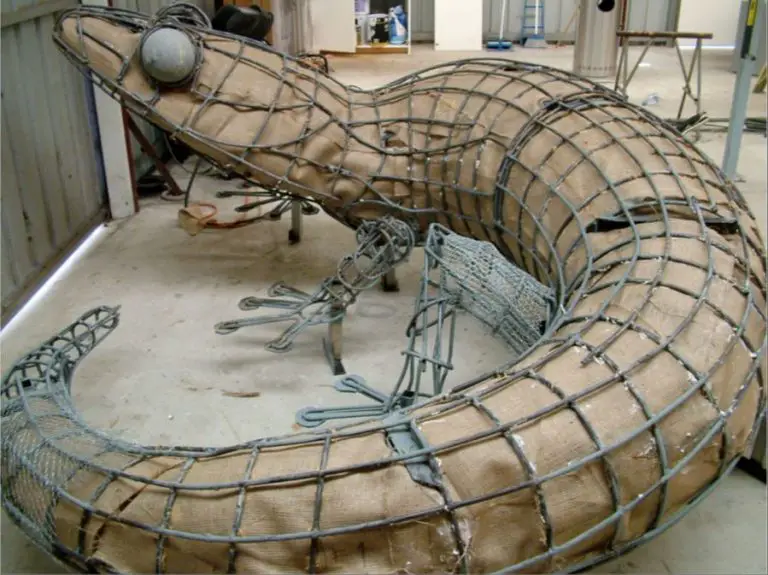
For building armatures and skeletons, have various gauges of wire on hand. Aluminum armature wire allows you to bend and pose structures that will support your sculpture. Stainless steel wire creates rigid foundations. Foil and mesh screen also make useful armature materials.
Modeling tools like loop tools, ribs, and kidney tools enable you to smooth, blend, shape and refine the clay. Metal sculpting tools can be tipped with wood, rubber or plastic for different effects. Flexible silicone tools are great for textures. Have a variety on hand so you can finesse every area.
Cutting tools help remove excess clay and refine forms. Basic tools like wire loop cutters, hobby knives, and scissors are must-haves. Specialty clay cutters like loop scrapers, ribbon cutters and needle tools allow detailed cutting. A linoleum cutter is great for texturing.
For adding realistic surface details, have various texturing tools available. Natural items like leaves, shells, wood and sponges can imprint textures. Manufactured texture sheets, rollers and stamps quickly add effects like scales, wrinkles and patterns.
With a well-stocked toolbox of sculpting supplies, you’ll have the ability to bring any creation to life in clay.
Setting Up Your Sculpting Studio
Setting up your sculpting studio properly is critical for creating excellent works. You’ll need adequate space, lighting, ventilation and storage solutions tailored to your sculpting needs.
Make sure your studio has enough room to move around comfortably and display finished pieces. The space requirements depend on the scale you work in – sculptors working on small pieces may only need 100 sqft, while those creating large sculptures may require 500+ sqft of space (Sculpture Essentials).
Proper lighting allows you to see detail clearly while sculpting. Both natural light from windows and adjustable artificial lighting work well. Avoid shadows or glare on your workspace (How to Plan a Sculpture Studio).
Ensure there is adequate ventilation to control dust and fumes from materials like clay, plaster or chemicals. You may need dust collection systems, fans or open windows.
Organize tools, materials and works-in-progress conveniently around your workspace. Install shelving, cabinets, racks and storage bins tailored to the media you use. A well-organized studio allows you to find what you need easily.
Sculpting Techniques
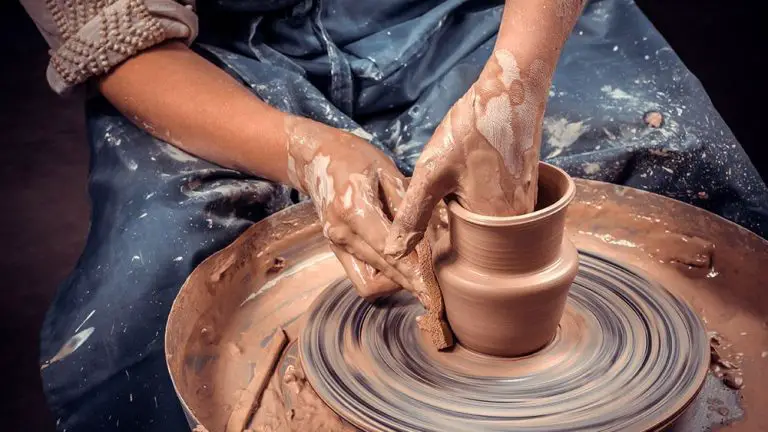
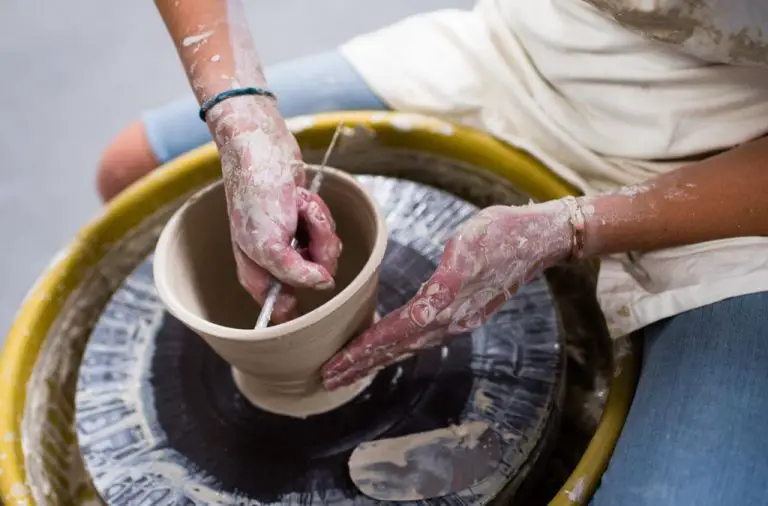
There are a variety of sculpting techniques and methods to create 3D forms out of clay. Two main categories of techniques are handbuilding and wheel throwing.
Handbuilding involves shaping the clay by hand without the use of a pottery wheel. Some common handbuilding techniques include:
- Coil building – forming long coils or ropes of clay and stacking or attaching them
- Slab building – cutting flat slabs of clay and joining them together
- Pinch pots – pinching and pulling the clay into shape
- Sculpting – using tools and hands to carve, scrape, and shape the clay
Wheel throwing involves using a pottery wheel to center and shape the clay. This allows creating symmetrical forms and shapes not easily made by hand. Wheel throwing requires practice and skill to master.
Another way to categorize sculpting methods is relief sculpture versus sculpture in the round. Relief sculpture is where shapes project from a flat background. The depth is usually shallow and attached to a wall or other surface. Sculpture in the round (a.k.a. free-standing sculpture) involves creating a 3D form that can be viewed from all sides.
When sculpting, it’s important to work methodically and deliberately. Take time to visualize the form, map it out, and work carefully to bring it to life. Pay close attention to anatomy, proportion, balance, and composition. A thorough understanding of the medium is essential. Refer to sculptors like Claire Loder and Domestika for guidance on mastering sculpting in clay.
Understanding Anatomy
Having a firm grasp of anatomy is crucial for sculpting realistic figures. Studying anatomy helps artists understand the underlying bone and muscle structure to accurately portray the human or animal form.
For animal anatomy, resources like illustrated veterinary guides can provide detailed references for skeletal and muscular systems. Observing taxidermy specimens can also help comprehend 3D animal anatomy. For human anatomy, consider taking life drawing classes with nude models to directly study muscles in motion and distortion. Consulting artistic ecorche sculptures showing flayed figures without skin aids learning anatomy by revealing layers below the surface. Classic anatomical drawings by Michelangelo and Leonardo da Vinci also teach integral anatomical knowledge for figurative art.
Some key reference materials for learning anatomy include:
– Anatomy for Sculptors book by Uldis Zarins
– Atlas of Human Anatomy by Frank H. Netter
– Animal Anatomy for Artists by Eliot Goldfinger
– Online photo databases like Anatomy 360 and SketchDaily
Integrating a deep comprehension of anatomy into your sculpting process allows more accurate recreation of living creatures in three dimensions.
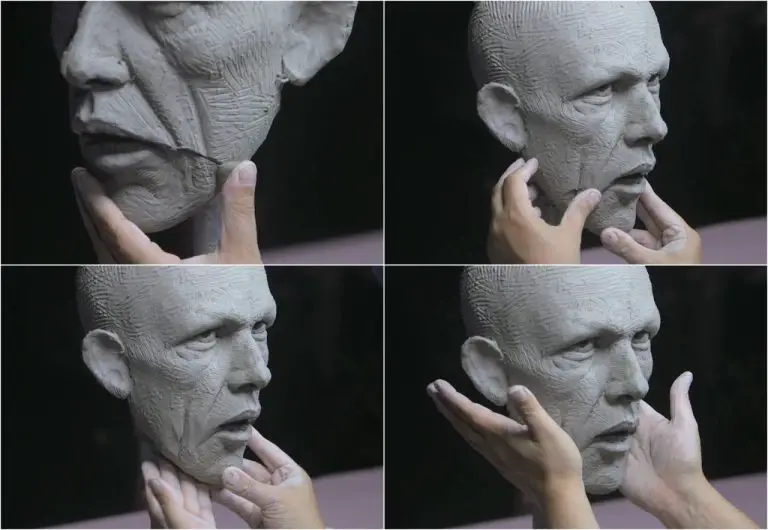
Achieving Realism
Creating realistic sculptures requires careful observation and an understanding of anatomy, weight, and texture. Sculptors need to capture subtle details and natural imperfections to achieve a lifelike quality.
When sculpting people or animals, pay close attention to expressions, poses, and movement. Reference photos can help observe how muscles flex and skin folds with different positions. But avoid making sculptures look stiff. Observe live models to better convey a sense of weight shift and fluid forms.
Textures greatly impact realism. Use various sculpting tools and techniques to recreate the texture of skin, hair, clothing, rocks, trees, and other elements. Consider the thickness, irregularities, wrinkles, and direction of textures.
Balance and gravity also affect realism. Make sure sculptures have appropriate heft and hang naturally. The distribution of weight impacts poses and gestures.
Mastering anatomy, from bone structure to musculature, allows more accurate portrayals. But don’t just copy anatomy. Understand it to recreate natural, balanced, and lifelike forms.
With practice and observation, sculptors refine their spatial perception and skills for achieving convincing realism in their clay work.
For more tips, see this helpful video: 9 Ways to Stay Accurate While Sculpting
Troubleshooting Issues
Sculpting involves many technical challenges, and even seasoned artists will run into problems from time to time. Some common issues that can arise include cracking, collapse, warping, and discoloration. Here are some tips for troubleshooting these problems:
Cracking often occurs when clay dries too quickly or unevenly. To prevent cracking, carefully control the drying conditions and make sure the clay dries slowly and evenly throughout the sculpture. Avoid extremes of temperature or humidity. Also, don’t let any one part of the sculpture become much drier than other areas (Top 10 Sculpting Mistakes – YouTube).
Collapse can happen if the clay body is too soft or wet to hold its own weight. Use an armature or other internal support for large sculptures, and choose an appropriate clay formula based on the scale and complexity of your piece (Common Problems & Solutions in Sculpting).
Warping and distortion often occur during the drying and firing stages. To prevent warping, dry the sculpture very slowly and evenly. During firing, closely follow the kiln manufacturer’s instructions for ramp speeds and target temperatures. Adding kiln wash or stilts can also help minimize contact between the sculpture and kiln shelf (4 Practical Solutions to the Obstacles of Sculpting with Clay at Home).
For issues with discoloration, carefully control the firing atmosphere and prevent contaminants in the clay or kiln. Test samples before firing a large piece. Glazing can also help create an even surface color.
Drying and Firing
Properly drying and firing clay sculptures is essential for creating a strong, finished piece. There are some key factors to consider when managing the drying and firing processes:
Drying Times
Allow adequate drying time for your sculptures. The drying time will depend on factors like the size and thickness of your piece, the ambient temperature and humidity, and if a drying medium like a fan is used. Allow even thick pieces to dry for at least a few days before firing.
As noted in the Ceramic Arts Network article on drying clay, larger pieces may take weeks to fully dry. Avoid drying too fast, which can cause cracks and explosions.
Kiln Options
Use an electric or gas kiln designed for firing ceramics. Top-loading kilns allow firing of taller sculptures. Small sculptures can be fired on stilts or firing blocks to avoid direct contact with kiln shelves.
Programmable kilns are ideal, as you can set custom ramps and target temperatures. Kiln sitter kilns work too but require manual monitoring.
Firing Temperatures
Follow your clay manufacturer’s guidelines for recommended firing temperatures and ramp speeds. Sculpture clays are often fired between cone 04 and cone 6. Use kiln cones to verify target temperatures are reached.
Multiple firings at progressively higher temperatures may be needed for large sculptures to prevent cracking and allow thorough vitrification. Allow pieces to fully cool between firings.
Finishing Touches
After your sculpture has dried and been fired, it’s time for those final finishing touches that will really make your work shine. Proper finishing can elevate a mediocre sculpture into a masterpiece. Here are some key techniques to focus on:
Sanding
Sanding smooths out any small imperfections and creates a uniform surface for painting. Start with a coarse grit sandpaper to remove bigger irregularities. Then progressively use finer grits to achieve a smooth finish. Always sand in circular motions and be sure to sand evenly across the entire surface.
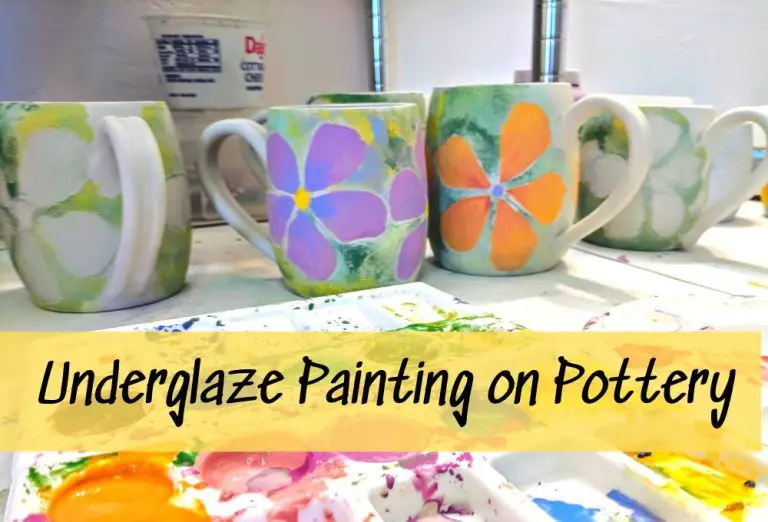
Painting
Painting brings vibrancy and realism to a sculpture. Acrylics work well for painting fired clay. Thin layers of paint should be built up gradually for best results. Use an acrylic varnish to seal and protect painted surfaces. Consider playing with patterns, textures and mixed media to add visual interest.
Sealing
Sealing is an essential step to protect porous clay from damage. For an all-natural look, try applying a food-safe beeswax sealant. Polyurethane is commonly used for a glossy finish and durable protection. Multiple thin coats allow the sealant to fully soak in. Be sure to use a sealant suited for your particular type of clay.
Presentation
Don’t overlook the importance of presentation. Sculptures can be displayed on pedestals, shelves or mounted on walls. Appropriate lighting and backdrops enhance the viewing experience. For a clean gallery aesthetic, minimal accompaniments are best. The presentation should complement the sculpture without being distracting.
Expanding Creativity
Expanding creativity is crucial for sculptors looking to grow as artists. There are several key techniques to help ignite inspiration, push personal boundaries, and develop a unique style.
To find inspiration, it’s important to look beyond the clay studio. Go out in nature, visit museums, read books, listen to podcasts or music – any activity that exposes you to new ideas can spark creative momentum. As shared in this article, creating basic clay forms can also unlock new creative directions before tackling more complex sculptures.
Pushing personal boundaries forces growth. Sculpt subject matter outside your comfort zone, use new tools or techniques, or set timed challenges to work quickly. Stepping outside artistic habits and experimenting expands skills over time, as covered in this post. Don’t be afraid to fail – let go of fear and perfectionism.
Finally, developing a unique style requires knowing your strengths. Analyze techniques, subjects, and methods you excel at. Then, double down on your distinctive creative niche through focused practice and experimentation. Mastery of personal style evolves over years but consciously working in your artistic zone will accelerate the process.