How Do You Paint Pottery Pieces?
Pottery painting has been a popular craft and hobby for thousands of years. As an artform, it allows creative expression through painting designs and motifs on clay surfaces.Recent trends show pottery painting gaining even more popularity around the world. The mindful, therapeutic nature of painting pottery makes it appealing to people of all ages and backgrounds.
Pottery painting offers many benefits as a relaxing hobby. Studies show crafts like pottery painting can lower stress, improve focus and cultivate mindfulness. As a fun group activity, pottery painting builds social connections. The tangible nature of creating a lasting, handmade object brings a sense of achievement. With the rise of social media, pottery painting has also become an enjoyable hobby to share online.
Many types of pottery can be used for painting. Bisqueware, which has been fired once in a kiln, provides an absorbent, porous surface ideal for acrylic paints. Smooth glazed ceramics can also be painted on using specific techniques. Some common forms used are mugs, plates, bowls, vases, figurines, tiles and more.
Needed Supplies
Painting pottery requires a few key supplies:
Paints
Acrylic paints are often recommended for beginners as they are versatile, easy to use, and fast-drying. According to Gathered, acrylics are the best choice for painting unglazed pottery. Enamel and glaze paints are other options, but require proper firing in a kiln.
Paintbrushes
Use synthetic bristle brushes for acrylic paints. Different sizes and shapes work for different techniques and details. Big Ceramic Store recommends starting with a few round brushes in smaller sizes like a no. 4 and no. 6.
Palette & Water Container
You’ll need a palette for mixing paints and a water container for rinsing brushes. Disposable paper palettes or plastic palettes work well.
Sealer/Finisher
A sealer or finisher helps protect the paint from damage. Polyurethane or acrylic spray sealers are common choices.
Preparing the Pottery
Before painting your pottery piece, it’s important to properly prepare the surface so the paint adheres well. The first step is cleaning the piece thoroughly with soap and water to remove any dirt, dust or oils. Use a soft cloth or sponge and gently scrub the entire surface.
Next, you’ll want to lightly sand the pottery. This helps the paint adhere by roughing up the smooth glazed surface. Use fine grit sandpaper and lightly go over the areas you will paint. Be careful not to scrub too hard or you may scratch the glaze according to Classpop.
Apply a primer or sealer base if needed. If painting on bare terra cotta or unglazed bisque, a primer is not necessary. But for glazed surfaces, a primer helps the paint stick. Use a high quality acrylic primer like Kilz Premium Primer and apply an even coat with a foam brush. Allow to fully dry before painting.
Painting Techniques
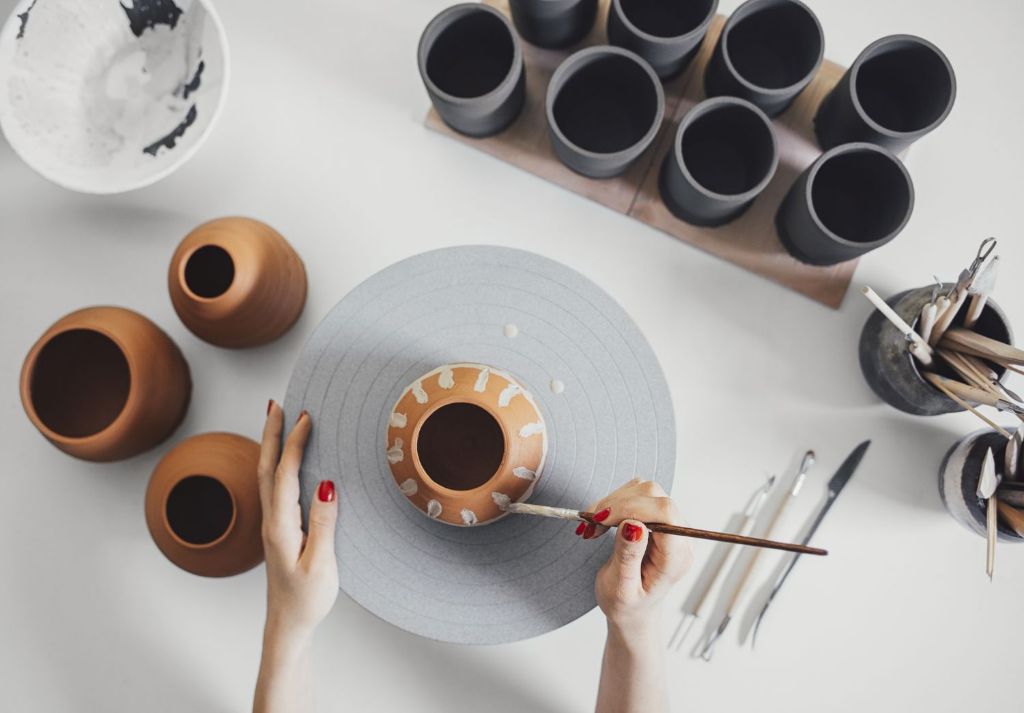
There are various techniques you can use when painting pottery pieces. The two main approaches are freehand painting versus using stencils or transfers. With freehand painting, you have complete creative freedom to paint designs purely by hand using different brush strokes. This allows you to create one-of-a-kind designs but requires more skill. Using stencils or transfers can help guide you in creating a motif and ensure consistency, but limits creativity.

When painting freehand, you can utilize different brush strokes like blending, dry brushing, dotting, and more to achieve different textures and effects. Blending involves softly transitioning between colors to create subtle gradients. Dry brushing means using very little paint on a dry brush to add texture. Dotting involves tapping the brush repeatedly to make small dots. You can also experiment with making different lines, squiggles, and other abstract shapes.
Building up multiple thin layers of paint helps deepen colors and dimension. Letting each layer dry first results in a richer end effect than single thick coats of paint. You can also blend colors on the pottery before they fully dry. Mixing adjacent colors together creates natural transitions and gradients between them.
Using ceramic paint pens in addition to brushes opens more possibilities. Outlining key design elements with ceramic paint pens adds crisp definition. Paint pens also allow you to add finer details that brushes can’t achieve.
Common Motifs and Designs
Some of the most popular motifs and designs for painted pottery include geometric patterns, nature themes, cultural symbols and color gradients.
Geometric patterns like chevrons, diagonals, dots, stripes and zigzags are commonly seen on pottery pieces. These bold graphic designs make a striking visual impact and are easy to do, even for beginners. Geometric patterns look great on mugs, plates, bowls and vases.
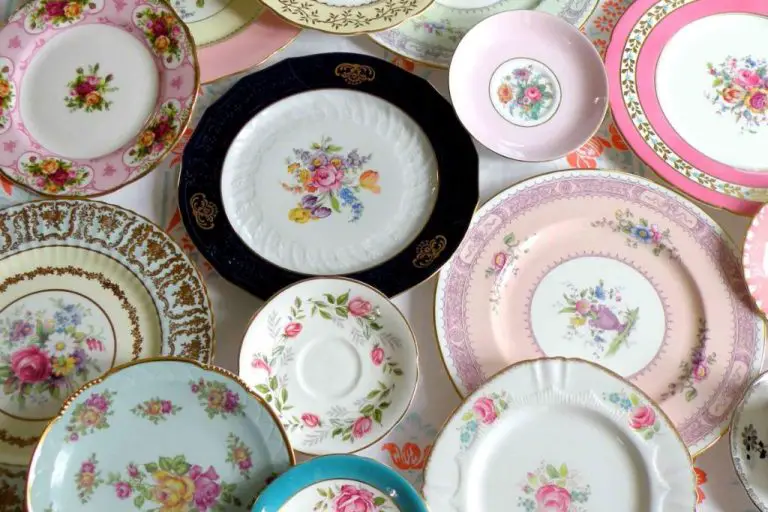
Nature themes like flowers, leaves, trees, butterflies and animals are also very popular. These organic designs can be either realistic representations or more abstract and stylized. Painting natural motifs on pottery can create a serene, earthy look. Delicate floral designs are commonly seen on tea cups and pitchers.
Cultural symbols add meaning and storytelling to pottery painting. You can paint your family crest, characters telling a folk tale, or ancient hieroglyphics as a way to connect with your heritage. Recreate traditional paisley patterns or Celtic knots to link with your roots.
Color gradients using ombré or rainbow effects are an easy way to make basic pottery shapes more exciting. Start with a darker shade at the top that fades into lighter colors towards the bottom. Or paint concentric rings of brighter colors radiating outwards. Color gradients look great on vases, bowls and plates.
When choosing motifs and designs, pick options that speak to you personally for a more meaningful finished piece. Referencing these examples can provide inspiration.
Adding Details
Adding fine details to a painted ceramic piece can really make the design pop. Some common techniques for detailing include:
Outlining with thin brushes – Use a very fine tip brush to outline the edges of motifs or painted areas. This can help define shapes and make details stand out. Be sure to use a steady hand and lightly drag the brush along the edges.
Dotwork – Using the tip of a fine brush, dab tiny dots close together to fill in small spaces and add interesting textures. This is great for making scales, stars, polka dots, etc. Build up the dots and vary the sizes for best effect.
Adding shading effects – Use a slightly wider brush to dry brush soft shadows. Lightly drag a gray or darker paint color along edges or in areas that would be shadowed. Blend the edges for a gradual shadow effect. This can make motifs appear more 3-dimensional.
Practice your detailing on scrap ceramic pieces before moving onto your final work. Having a light touch and variety of thin brushes will help in adding the finer embellishments.
Applying Finishing Coat
It’s important to apply a finishing coat of sealant to pottery after painting to protect the artwork and give it a finished look. There are two main types of sealers to choose from:
- Acrylic sealers – Provide a matte finish and protect from moisture and fading. Products like Duncan Matte Sealer work well.
- Polyurethane sealers – Offer a glossy finish and the most protection from chipping, scratching, and yellowing over time. Duncan Gloss Sealer is a popular option.
Sealers can be applied with either a brush or a spray can. Brushes allow you to evenly coat the piece and get into crevices, while spray sealers are faster to apply overall. When using a spray, its important to hold the can 6-10 inches away and apply light, even coats using a sweeping motion to prevent drips.
Regardless of method, apply 2-3 thin layers of sealer for full coverage, allowing each coat to fully dry before adding the next. Rotate the piece frequently to coat all sides. Avoid over-saturation, which can cause drips. Once sealed, decorate painted pottery will have a polished look and the durability to withstand regular use.
Pottery Painting with Kids
Pottery painting is a fun and creative activity for kids to express themselves. However, there are some safety considerations when painting with children:
Use paints that are non-toxic and child safe. Avoid paints with lead and choose water-based acrylics or specialty ceramic paints.
Supervise closely, especially with younger kids. Provide smocks to keep clothes paint-free. Cover work surfaces to avoid messes.
For toddlers and preschoolers, avoid brushes and tools that are sharp or have small pieces that can break off. Soft bristle brushes and foam brushes work well.
Older elementary aged kids can handle more specialized ceramic tools, but may still need supervision. Demonstrate proper usage of each tool.
Simple, age-appropriate ideas include: handprints, shapes, textures, characters and animals. Let them draw inspiration from their own imagination.
Encourage creativity over perfection. Keep it simple with large scale designs. Avoid too many small details for young kids.
Focus on the process not the end product. Pottery painting is meant to be an enjoyable, tactile experience for children to express themselves.
Troubleshooting Issues
Painting pottery can sometimes lead to frustrating problems, but there are ways to troubleshoot and fix common issues.
Paint Not Adhering
If paint is not sticking to the bisque properly, the pottery may not be clean enough. Use a slightly damp sponge to wipe off any dust or debris on the surface before painting. Allow the bisque to fully dry before attempting to paint again. It’s also important that you are using paint specifically formulated for pottery, as other paints may not adhere correctly. Acrylic craft paint from the art store is not the same as ceramic paint and may peel or chip off.
Brush Strokes Showing
To avoid visible brush strokes, use a soft brush and thin layers of paint. If strokes are still visible after the first coat, do not try to cover them up by painting over them. Let the paint fully dry, then sand the area lightly with fine grit sandpaper before painting another layer. Applying the paint in a stippling motion rather than long brush strokes can also help blend and hide any strokes.
Unwanted Blending of Colors
When painting adjacent areas in different colors, it’s easy for the colors to bleed into one another unintentionally. To avoid this, let each layer of paint dry fully before painting next to it. Using painter’s tape to create a hard edge can prevent colors from running into each other. Outlining areas first with a liner brush can also help define the boundaries before filling in with a larger brush. Work carefully when painting intricate details or thin lines to prevent bleeding under the tape edges.
Conclusion
As we’ve covered in this guide, painting pottery involves several key steps. First, gather the necessary supplies like paints, brushes, sponges, and sealers. Prep the bisque by cleaning and sanding it before applying paint. Use different techniques like splattering, sponging, and outlining to decorate your piece. Let layers dry between coats. Finally, seal the pottery before use. With some practice and creativity, you can make beautiful painted pottery.
Pottery painting provides many benefits as a relaxing hobby. The tactile process of handling clay reduces stress. Decorating pottery allows you to express your creativity. It also develops fine motor skills and hand-eye coordination. Seeing your finished pieces can give a great sense of accomplishment. Pottery painting is fun to do alone or as a social activity.
We hope this guide has inspired you to try your hand at painting pottery. With the right supplies and some experimentation, anyone can create amazing works of art. Get started on your pottery painting journey today!


