Mastering Hand-Building Techniques In Clay Pottery
Handbuilding refers to shaping pottery by hand without the use of a potter’s wheel. It encompasses techniques like pinching, coiling, and slab construction to form ceramic objects. Handbuilding has an ancient history, with artifacts like the Venus of Dolní Věstonice dating back to around 25,000 BCE showing early pinch formed figures. Coiling techniques appeared in early Mesopotamian and Egyptian pottery, while the Ancient Greeks and Chinese perfected more refined handbuilding methods. After the potter’s wheel gained prominence, handbuilding techniques continued to be used for sculptural and decorative work. Today, handbuilding remains a core pottery skill along with wheelthrowing.
There are three main handbuilding techniques in clay:
- Pinching – Pinching clay into shapes and forms using fingers.
- Coiling – Rolling out clay coils and stacking them to build vessels and shapes.
- Slab Building – Cutting flat slabs from clay and joining them to construct forms.
Mastering these fundamental handbuilding techniques provides a foundation for creating diverse ceramic artworks. Skilled handbuilders can combine approaches and add refined surface decoration. With practice, clay artists gain versatility in their ability to hand craft a wide range of pottery from mugs to sculptures.
Pinching
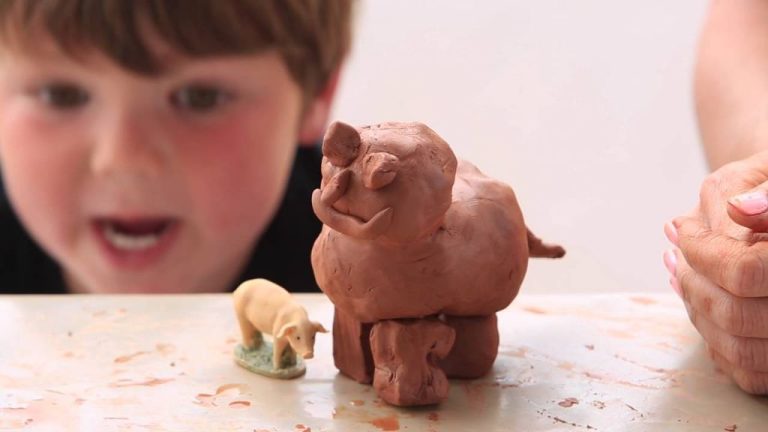
Pinching is one of the most basic and ancient clay hand-building techniques. It involves taking a ball or lump of clay and literally “pinching” it between the fingers and thumbs to create a simple pot form (Wikipedia 2023). The process begins with kneading and wedging the clay to remove air bubbles. Then a ball of clay is formed and thumbs are pushed into the center while pinching the clay outward to thin the walls. Pinch pots can be left simple or embellished with shapes, textures, and cut-outs (Ceramics Art Network 2018).
Pinching is well-suited for making small bowls, cups, vases, and other vessels with rounded or spherical shapes. It allows good control over the thickness and form. With practice, symmetrical vessels can be created through even pinching and smoothing techniques (Ceramic Arts Network 2005). Care should be taken to maintain an even wall thickness while working. Fingertips can be used to gently smooth and refine areas. Cutting tools can also help shape details and regularize forms.
To create proper vessel forms, start by visualizing the shape and size of the finished piece. Try to work upwards from the bottom, turning the ball over to gradually pinch and form each side. Pay attention to the wall thickness and shape as you pinch. Leave enough clay at the base and walls to support the weight. Go slowly and gently to avoid tearing the clay. Small collapses can be patched by adding clay slip. Letting the vessel firm up between working sessions can also help hold its shape (Frampton 2022).
Coiling
Coiling is one of the oldest and most versatile handbuilding techniques in pottery. It involves rolling out and connecting coils of clay to build up the walls of a pot. According to Wikipedia, coiling has been used for thousands of years across many cultures to create a variety of vessel forms [1].
Coiling is well-suited to making pots with round, oval, or freeform shapes. It allows good control over the thickness of walls, and enables building larger pieces than may be possible with pinch pots. Coiling can also be used in combination with slabs for more structurally complex forms.
When coiling, it’s important to score and slip each coil before attaching to the previous coil. Blending the coils together and compressing each one will help eliminate seam lines. Coils can be smoothed using fingers, a rib, wooden knife, or paddle. To maintain an even wall thickness, check progress frequently with calipers.
Slab Building
Slab building involves rolling out flat pieces or “slabs” of clay and then assembling them into the desired form (The Spruce Crafts). This technique is great for making flat or box-like forms like trays, plates, and square vases. To start, roll out the clay using a rolling pin on a canvas or plaster slab until it reaches an even thickness of 1/4 – 1/2 inches. Make sure the clay slab is larger than your planned project size. Then, cut and stack the slabs how you’d like, trimming away excess clay. You can cut precise shapes using pattern templates. To join the slabs, score the edges and apply slip. Use wads of clay to support walls and surfaces while they dry. Let assembled pieces sit overnight before continuing to shape and smooth seams. When designing slab built vessels, opt for angular forms rather than curves to avoid challenges achieving symmetry and smooth edges (Obby). Box-like forms with flat bases and sides are beginner-friendly. Avoid overly thin walls that risk cracking or collapsing. With practice controlling slab thickness and seamlessly joining clay, you can create beautiful hand built pottery.

Cited sources:
https://obby.co.uk/blog/hand-building-ceramics-obby-guide/
https://www.thesprucecrafts.com/slab-ceramics-pots-101-2746177
Combining Techniques
Combining multiple hand-building techniques in one piece can lead to unique and creative results. Blending techniques like pinching, coiling, and slab building allows potters to capitalize on the strengths of each method.
Some benefits of combining hand-building techniques include:
- Making more complex and intricate shapes than a single technique allows
- Fixing problem areas in a seamless way
- Adding decorative elements and textures
- Creating asymmetric forms with more organic shapes
For example, a potter might want to make a rounded vessel with a flat base. They could pinch or coil the rounded body, then join a slab-built base to complete the form. Other combination pieces might include a slab built box with coiled handles, or a pinched bowl with a foot added from a coil (Source).
Tips for seamlessly combining techniques include:
- Plan transitions between techniques ahead of time
- Create attachment points while clay is still soft
- Blend seams through smoothing, paddling, or burnishing
- Allow thicker areas of clay to firm up before joining to thinner areas
- Use slip and scoring to strengthen bonds
With careful planning and practice, hand builders can make exciting multi-technique creations.
Texturing & Decorating
Texturing and decorating are important finishing techniques that allow you to add visual interest to your handbuilt pottery pieces. There are many options for texturing the surface of clay as well as decorating finished wares.
Some common texturing techniques include:
- Carving – using metal ribs, loop tools, or knives to incise lines and patterns into leather-hard clay
- Burnishing – rubbing the surface with a smooth tool like a spoon to compact the clay and create a shiny look
- Paddling – using a wooden paddle or similar tool to indent the surface while the clay is soft
- Piercing – cutting holes or lines through the clay wall with a knife or needle tool
Decorating techniques like slipping, glazing, staining, and incising can be used to add color, patterns, and visual richness. Slips are liquid clay mixtures that can be brushed or trailed onto the surface before firing. Glazes are glassy coatings that come in endless colors and effects. Stains are coloring oxides that soak into the clay surface. Incising involves carving or impressing designs that remain visible after firing.
The options for texturing and decoration are nearly limitless. Experimenting with different techniques allows potters to develop their own unique style.https://www.thecrucible.org/guides/ceramics/handbuilding/
Drying & Firing
Proper drying is crucial for successful firing and to prevent cracks and breakage. Allow pieces to air dry slowly at room temperature for at least 1-2 weeks depending on thickness. Avoid quick drying or putting wet pieces directly into a kiln as this causes rapid evaporation that can damage the structure. Once bone dry, pieces are ready for firing. See this guide for tips on drying pottery at home.
There are several firing methods for hand built pieces like raku firing, pit firing, or electric/gas kilns. Raku involves removing red-hot pieces from a kiln and putting them into containers with combustible materials to create unique crackled glazes. Pit firing entails building a bonfire over covered pottery to produce natural ash glazes. Kilns allow precise control over temperature and atmosphere for consistent results. Consider factors like desired colors/textures, fuel source, and firing process when selecting a method.
Troubleshooting Issues
When hand-building pottery, some common issues that can arise include cracking, collapsing, pieces not sticking together properly, and shrinkage. Here are some tips to help avoid these problems:
To prevent cracking, make sure to score and slip surfaces properly before attaching pieces. Let pieces dry slowly and evenly to prevent uneven shrinkage. Avoid making pieces too thin, which can lead to cracking. Wrap leather-hard pieces in plastic to slow drying. Use a kiln sitter for firing to shut off the kiln before over-firing.
To prevent collapsing, gradually build up thinner coils and let them firm up a bit before adding more height. Avoid making coils too high. Make sure to blend coil joints well. Use thicker slabs for structural integrity. Let pieces dry slowly and evenly.
For proper sticking, make sure joining surfaces are scored and moistened with slip. Use enough slip – too little slip can lead to pieces not sticking. Make sure slip and clay are similar consistencies. Let pieces firm up a bit before joining.
To minimize shrinkage, avoid overworking the clay which can cause excessive shrinkage. Let pieces dry slowly and evenly. Make pieces a little larger than desired to allow for shrinkage. Use a clay body formulated for minimal shrinkage.
Taking precautions during design, construction, drying, and firing stages can help avoid many common hand-building issues with clay pottery. Checking for cracks and structural integrity as you work can also help identify and remedy problems early on. With practice and care, lovely hand-built ceramics can be achieved.
Inspiring Examples
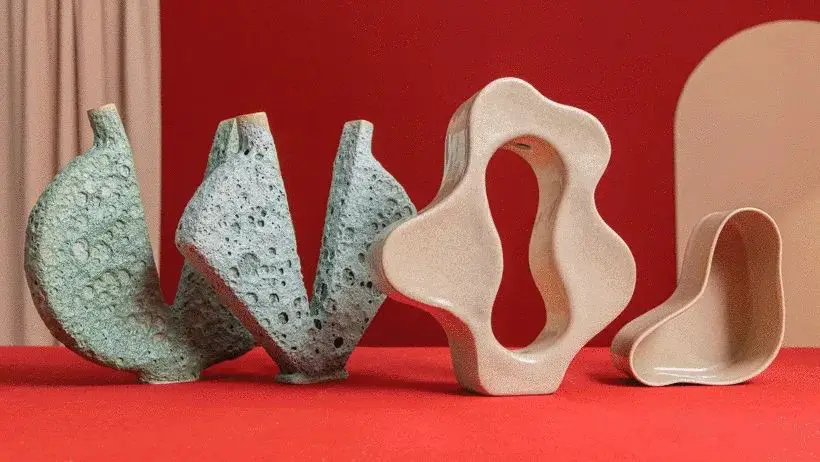
Hand-building techniques allow for immense creativity and individual expression. Throughout history, many master potters have used hand-building to create stunning and unique works of art. Here are some inspiring examples from renowned hand-builders.
One of the most famous hand-builders is Clara Peeters who lived in Antwerp during the 17th century. She is known for her beautifully intricate slab-built botanical plates featuring delicately sculpted flowers and leaves. Her technical skill in hand-building thin, fluted slabs is unparalleled. See this exquisite example: Tulip Plate
Contemporary potter Clary Illian is a master of hand-built sculpture. Using coiling techniques, she creates life-like animal forms with incredible detail and expression. This charming rabbit sculpture demonstrates her exceptional ability to manipulate clay into naturalistic forms:
Rabbit Sculpture
Finally, Matty De Moor combines hand-building with glazing techniques to produce her distinctive seascapes. Using wavy slabs and delicate color gradients, she captures the essence of an ocean in clay. This piece illustrates her artistic vision and masterful hand-building skills:
Seascape Platter
These are just a few examples of the boundless creativity enabled by hand-building ceramics. The techniques provide endless possibilities for both functional ware and artistic expression.
Conclusion
Learning hand-building techniques in clay pottery offers many benefits beyond just creating beautiful and functional pieces. Mastering these fundamental skills greatly expands your capabilities as an artist and unlocks new creative possibilities. The sense of satisfaction from making something with your own two hands is unmatched.
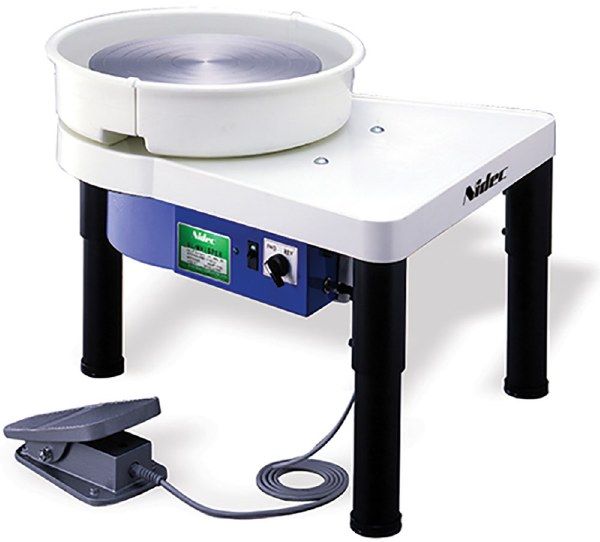
Hand-building also allows for experimentation and learning at your own pace, without the added challenge of learning to throw on a pottery wheel early on. While the wheel may seem faster, hand-building gives you more control and finesse in constructing unique forms. As you gain experience, combining hand-building with wheel techniques opens up even more design options.
For those looking to further develop their hand-building skills, many resources exist. Local ceramic studios offer a wealth of workshops and classes at all levels. Look for opportunities to learn from experienced ceramic artists in your area. Online tutorials, books, and magazines also provide invaluable guidance for mastering hand-building techniques.
In closing, learning hand-building with clay is an immensely rewarding journey. With practice and persistence, you can master these foundational techniques to create stunning works of art. Approach each project as a new opportunity to grow your skills. Allow yourself to make mistakes, but also reflect on what worked well. With an openness to continue learning, the possibilities are truly endless.


