Sculpting Beyond Basics: Advanced Clay Techniques
Choosing the Right Clay
When sculpting beyond the basics, choosing the right type of clay is crucial for achieving your desired results. There are several types of sculpting clay to consider, each with their own pros and cons.
Oil-based clays like Chavant NSP and Van Aken Plastalina are popular for sculpture. They are very malleable and have flexible working times. However, oil-based clays require specialized solvents for clean-up and release fumes as they cure (Source: https://www.sculptureatelier.com/blog/what-clay-should-i-use-to-start-sculpting).
Polymer clays like Sculpey and Fimo are also commonly used. They are easy to condition, maintain fine detail, and cure at low temperatures. But polymer clays can be brittle after baking and will eventually harden over time (Source: https://www.hndmd.com/articles/what-are-different-types-of-modeling-clay/).
Water-based clays like pottery clay are inexpensive and environmentally-friendly. However, they require knowledge of ceramic techniques and have high firing temperatures. Oil and polymer clays may be better choices for sculptors without access to a kiln.
Consider the sculpting project, desired finishes, personal preferences, and safety factors when selecting the optimal clay material.
Armature and Support
An armature is a framework that provides shape and support for a sculpture, especially when working with clay or similar soft materials. Armatures allow the sculptor to create dynamic poses and positions that would not hold their shape without internal structure (source). They are necessary when sculpting large works, as the clay’s own weight can cause sagging or collapse. For pieces with extending limbs or overhangs, armatures also prevent cracking and breakage during drying and firing stages.
Armatures are typically made of wire, wood, metal, plastic, or other rigid materials. While basic armatures may just provide the core form, more complex structures can include joints and connectors to enable flexibility and sturdiness in multiple positions. Common types of armatures used in sculpture include (source):
- Human figure armatures for sculpting anatomy and portraits
- Posable and jointed armatures for flexibility
- Flat base plates or stands to connect upright armatures
Sculptors may craft custom armatures specifically tailored to their piece. In some cases quick-and-simple frameworks made from scrap materials like wire, sticks, or cardboard suffice as basic internal support. Overall, armatures allow for stronger, more intricate and innovative sculpture by providing a backbone for soft materials to adhere to.
Detailing Tools
Adding fine details and textures to a clay sculpture requires specialized tools. Some common detailing tools include:
- Clay shapers – These rubber tipped tools in different shapes allow sculpting fine details without marring the clay surface.
- Cutting tools – Wire loop tools, ribbon tools, and various knives cut precise lines and shapes into the clay.
- Dotting tools – A rounded tool tip presses patterns of dots into the clay.
- Comb tools – These create lined textures by dragging the tool across the clay.
- Embossing tools – Various designs can imprint patterns onto the clay surface.
Detailing tools allow artists to carve delicate features, add realistic textures like scales or fur, inscribe designs, and overall bring a sculpture to life with nuanced touches. Quality detailing separates an amateur piece from a professional work. Many specialized sculpting tools can be purchased, like those offered by companies such as DiamondCore Tools and via sites like Amazon. However, everyday items like paint brushes, toothpicks, paper clips, and even kitchen utensils can also be improvised as detailing tools.
Textures
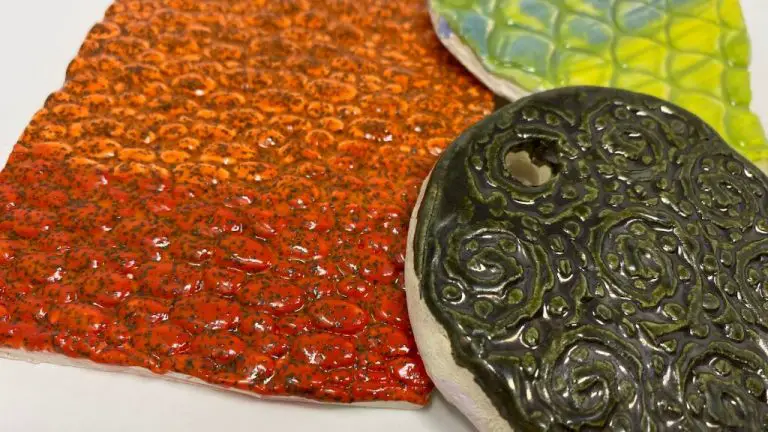
Adding realistic textures to clay sculptures can transform a piece from flat and one-dimensional to rich and complex. There are many techniques sculptors use to achieve a variety of textures in clay.
One of the most common ways to add texture is by imprinting the clay surface. You can press everyday objects into the clay to create patterns, such as lace, burlap, mesh, or netting. Using clay tools, you can also incise lines, dots, cross-hatching, etc. Rubbing sandpaper, wire brushes or other abrasives over the surface is another imprinting technique.
You can build up texture by adding elements onto the clay surface, such as coils, slabs, and bits of clay. Attach these with slip or score and blend the seams. Things like rocks, twigs, sea glass, or other found objects can also be pressed into the clay to become part of the textured surface.
Some sculptors will mimic natural textures by hand. For example, you can pinch, roll, twist, ruffle, or crumple the clay to create lifelike bark, leaves, fur, or feather textures.
Firing techniques can also impart texture. Allowing certain areas of the clay to dry out more than others prior to firing can cause cracking and crazing. Different glazes and slips will contract and react differently during firing, adding interest.
With so many options available, clay sculptors can create any texture imaginable. The key is to look closely at the subject and determine which techniques will replicate the textures realistically.
Source: https://theartofeducation.edu/2020/02/5-exciting-ways-to-create-texture-on-clay/
Joining and Construction
Joining pieces of clay together can be challenging, especially as the clay dries and loses its tackiness. There are several methods for joining clay pieces together:
For clay that is still moist and pliable, simply pressing the pieces together firmly may be enough to join them. Using a bit of water or slip can help moisten and bind the clay pieces.
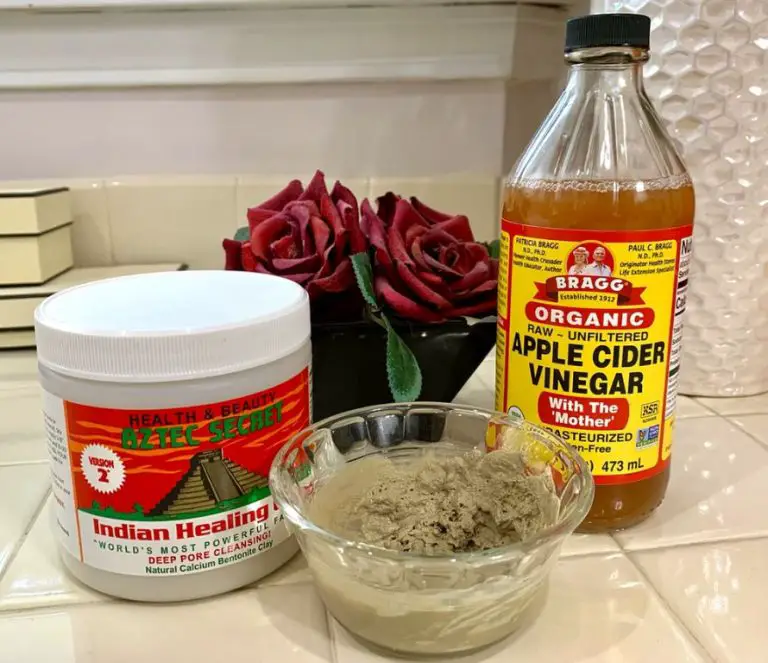
For leather-hard clay that has dried but is still slightly moist, a slip can be useful. A slip is made by mixing water and clay scraps into a thick liquid that can act as “glue.” Apply the slip generously to both pieces and press them together.1
For joining completely dry clay, moisture alone often won’t create a strong enough bond. In this case, paper clay can help bridge the pieces. To make paper clay, blend shredded paper with slip into a pulp. Apply the paper clay along the seams and smooth it over the joint. The paper fibers will hold the pieces together as the clay dries.
Armatures made from wire, wood, or other materials can also help connect clay pieces and provide stability to the overall sculpture. Plan armatures carefully to support the weight of the clay and design joints between sections.
When joining is complete, blend and smooth the seams so the joints are invisible in the finished piece. Plan your sculpture in sections with join points that are hidden or that enhance the overall design.
Surface Treatments
Once your clay sculpture is fired, applying different finishes and paints can really make the piece come alive. There are many options when it comes to painting and finishing techniques for clay art.
One of the most common methods is to use acrylic paints. Acrylics work well on fired clay and allow you to achieve a wide range of colors and effects. When painting with acrylics, it’s best to use high-quality paints designed specifically for ceramics. Apply multiple thin layers of paint rather than one thick coat for the best results (1). Let each layer dry fully before adding another. Acrylics can be used to add details, shading, textures and more.
In addition to paints, there are special glazes made for finishing clay sculptures. Glazes come in various finishes from glossy to matte. They can be brushed or sprayed on the piece. Glazes are often transparent, enhancing the sculpture’s surface while allowing the clay color to show through. Special effects glazes feature metallic, iridescent and crackle finishes (1).
Other options for finishing fired clay include wax, varnish, patinas with acrylic paints, gold leaf, and more. Get creative with different materials and techniques. Just be sure to seal any paint or finish with a protective acrylic spray or brush-on sealer designed for clay.
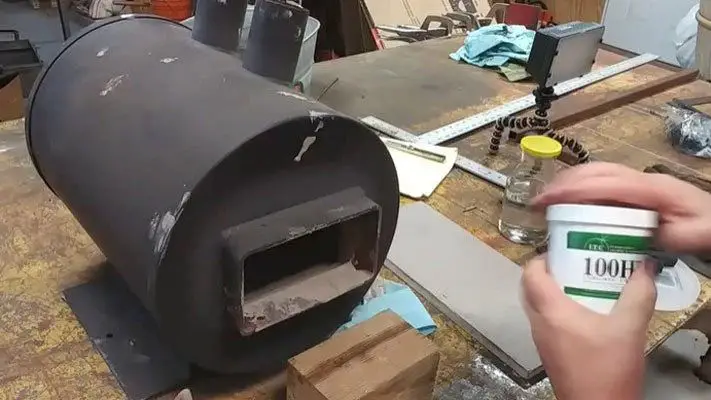
Firing and Bisque
Properly firing a ceramic sculpture is essential for ensuring it is durable and retains its shape. Before firing, ensure the sculpture is completely dry with no moisture left. Use a hair dryer or fan to speed up drying if needed. When attaching multiple pieces, make sure seams are smoothed and attachments are secure.
Bisque firing is the first firing process that turns the dried clay into a permanent ceramic material. Make sure the kiln is preheated to the proper bisque firing temperature, usually around cone 04 which is approximately 1885°F. Firing too hot or fast can cause cracks or explosions. Place the sculpture on stilts or kiln posts so air can circulate underneath. Load carefully and allow proper ventilation.
Fire slowly, around 200°F per hour. Hold at top temperature for 30-60 minutes. Cool down the kiln slowly over 4-6 hours. After bisque firing, the sculpture is ready for glazing and a second firing to add color and shine. Always check manufacturer instructions for proper bisque and glaze firing guidance. Firing is a critical step that requires care and precision for best results.(Source)
Mold Making
Mold making allows sculptors to reproduce their original clay sculptures in other materials like plaster or resin. There are several options for mold making materials and techniques depending on the complexity and intricacy of the original sculpture.
The most common mold making materials for clay sculptures are silicone rubber, polyurethane rubber, and plaster. Silicone molds can capture very fine details and allow for multiple castings. A silicone like Mold Max from Smooth-On is frequently used. Polyurethane rubber molds like Polytek’s Poly 74 series can also pick up details well. Plaster molds are more affordable but may require a rigid mother mold for support. Oil-based clays require a release agent like petroleum jelly when making a plaster mold.
For complex sculptures with undercuts, a rigid mother mold may be required to support the flexible mold material and allow for demolding. Mother molds are often made with plaster or fiberglass. When making a two part mold, clay keys help align the two halves.
Some options for mold making techniques include:
– Single-piece block molds for sculptural reliefs
– Two-piece molds with a seam line and registration keys
– Multi-piece molds for 360 degree coverage and complex undercuts
– Waste molds embedding the original and destroying it when removed
When preparing the original sculpture for molding, details should be crisp and attachment points reinforced. Surfaces are typically sealed before molding as well. Proper use of mold release spray, registration points, and seam lines ensures the mold halves align and can separate properly.
With some care and planning, high quality molds can be made to reproduce clay sculptures in other materials for sale or display.
Troubleshooting
One of the biggest issues that can arise when sculpting with clay is cracking or breakage. This can occur while the clay is still wet if the piece becomes too thin or unsupported in certain areas. It can also happen during the drying or firing process as the clay shrinks and contracts. There are several methods to repair cracks or breaks in both wet and dry clay sculptures.
For wet clay, one effective technique is to create a slip mixture using some of the original clay moistened into a thick liquid consistency. Apply this slip mixture into the crack or broken area and smooth over gently. Small anchors made with toothpicks or skewers can help reinforce repaired areas. Let the repair dry slowly to avoid more cracking. Repeated applications may be needed for large cracks [1].
For dried or bisque-fired sculptures, a paste made from dry clay powder and white glue can be used to fill cracks and gaps. Press the paste firmly into damaged areas and let fully dry before smoothing or sanding. Brushing a thin coat of acrylic paint or glaze over the repair can help blend it into the original surface [2]. With careful repair work, most imperfections in clay sculptures can be fixed.
Displaying Finished Works
Properly displaying your finished clay sculptures can enhance their beauty and allow viewers to fully appreciate your artistic vision. Here are some tips for effective display techniques:
Mounting
Mounting your sculpture on a base or pedestal can add stability and gravitas. Opt for neutral colors like black, white or natural wood so the focus stays on your artwork. Secure delicately balanced pieces using museum wax or other reversible, non-damaging methods.
Lighting
Spotlights or track lighting directed at your sculpture from multiple angles can accentuate interesting textures and forms. Avoid direct sunlight which can cause fading. LED gallery lights provide even illumination without generating much heat.
Cases
For extra protection, display fragile or detailed pieces in glass cases. Closed cases also help control dust buildup. Ensure ample ventilation inside to prevent moisture accumulation. Position case lighting to minimize reflections and glare.
With proper mounting, lighting and display cases, you can showcase your sculptures in their best possible form for all to admire. Strategic presentation transforms a studio work into a museum-worthy masterpiece.