Advanced Clay Pottery Techniques: Beyond The Basics
Beyond the basic techniques of wedging, throwing, trimming, and glazing, there are many advanced techniques that can take your clay pottery skills to the next level. Once you have mastered the basics and want to expand your abilities, exploring advanced techniques can help you throw more complex shapes, add colorful designs, and create unique textures and decorative effects. This guide will provide an overview of key advanced clay pottery techniques that go beyond the basics.
Topics covered include throwing challenging forms, using colored clays, adding textures, joining multiple pieces together, experimenting with creative glazes, understanding firing, and finishing touches. With practice and experimentation, advanced techniques allow potters to make sophisticated pieces that are both beautiful and functional. Mastering the basics provides a solid foundation, but exploring these advanced skills can open up new possibilities for creativity and innovation.
Throwing Complex Shapes
Throwing complex shapes beyond simple bowls and vases can seem intimidating at first, but with practice and patience, you’ll be able to create intricate multi-axis pieces and off-centered pots. The key is learning how to manipulate and shape the clay on the wheel head using various techniques.
Off-Center Throwing
Off-center throwing involves positioning the initial lump of clay off the central axis of the wheel head to create an asymmetrical or off-balanced shape. This takes coordination and precision when throwing, as you’ll need to center the clay again on the new axis point you create.
Try throwing a cylinder then gently pushing the walls out of center while supporting the shape. Once secured in the new position, recentering the clay on this point allows you to create unique shapes like teapots with angled spouts.
Multi-Axis Pieces
Multi-axis throwing builds off the off-centered technique but involves throwing across two or more axes to create complex interlocking shapes. After throwing the first cylinder, gently collapse a section, then trim excess clay to create an opening.
Re-center the clay on the new axis and throw the intersecting shape. Blend the areas together with water and tools for a seamless transition. With practice, you can create intricate builds like stacked bowls, joined vases, and more.
Patience is key, as is maintaining an even throwing rhythm. Go slowly, and don’t be afraid to re-center or reinforce shapes as needed. The more you practice, the more intuitive multi-axis throwing will become.
Using Colored Clays
Colored clays can add beautiful visual interest to pottery pieces. There are two main ways to work with colored clays:
Mixing colored clays – Pre-mixed colored clays can be purchased, or you can mix your own using powdered clays and oxides. Mix the colors thoroughly before using. Popular color combinations are blue/brown, red/white, and black/white. Experiment to create your own signature palettes.
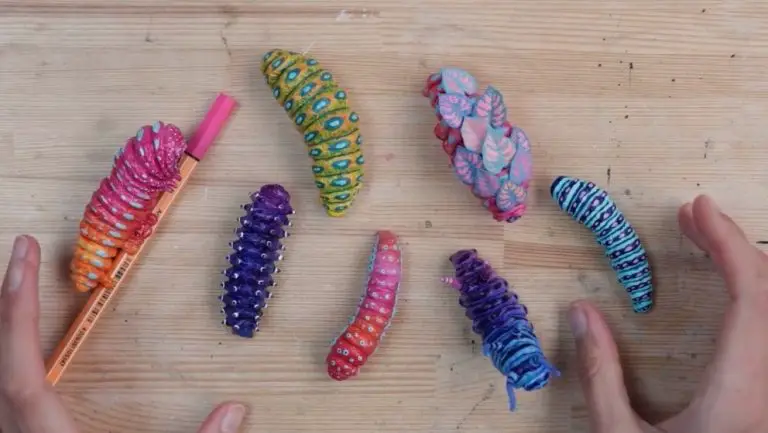
Nerikomi techniques – This involves stacking and cutting blocks of colored clay to reveal patterns when sliced (source). Consider solid blocks, stripes, zig zags, waves, and more. The angles of the cuts will impact the revealed pattern.
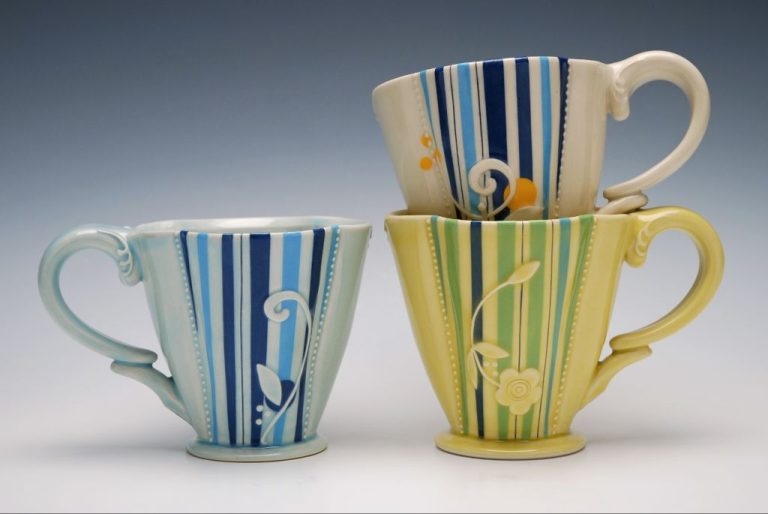
Colored clays can be used to decorate both the interior and exterior of pieces. Use them to create stripes, dots, geometric patterns, landscapes, or abstract designs. The colors may bleed and blend during firing, creating organic effects.
Take care when mixing colored clays with porcelain or white clays, as they may dilute the colors. Brightly colored clays can create striking visual impact on finished wares.
Texturing
Texturing clay adds visual interest and dimension to finished pieces. There are several techniques potters can use to create textures on both leather-hard and bisqueware clay:
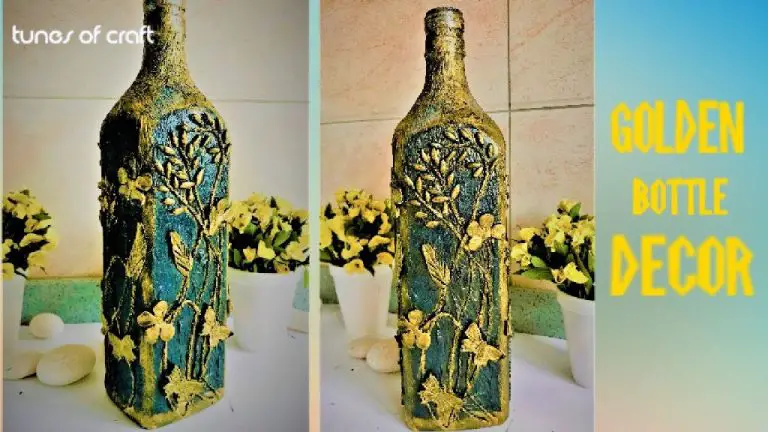
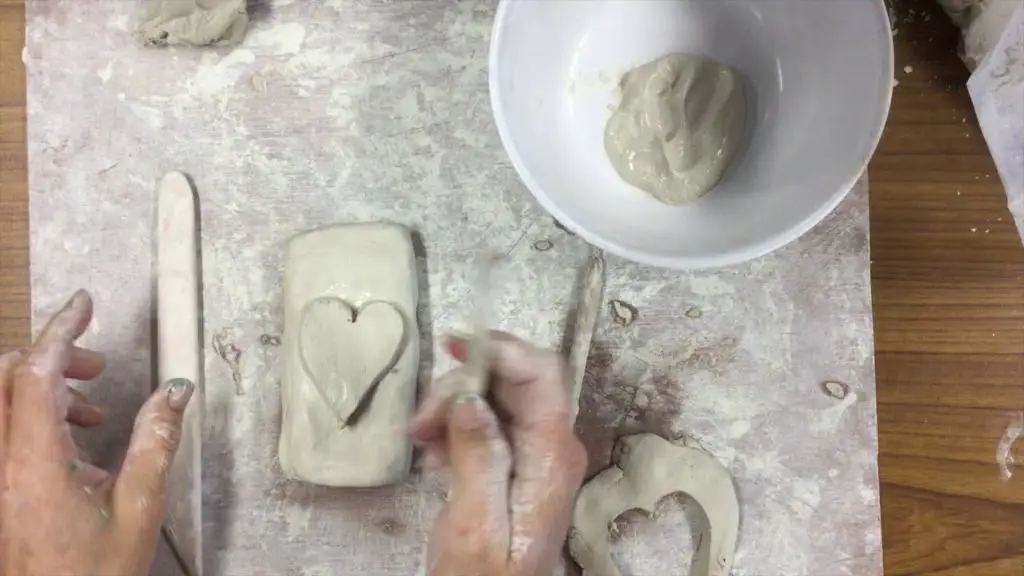
- Impressing – Pressing objects into the clay surface creates imprinted patterns and textures. Things like leaves, lace, burlap, nuts, seeds, and mesh can be used. Press firmly and evenly into the clay to get a clear impression.
- Piercing – Using sharp tools like needles, nails, or screwdrivers, potters can pierce the clay surface to make holes, dots, lines, or other pierced effects. This works on both leather-hard and bisqueware clay.
- Carving – Potters can use loop tools, ribs, or wood tools to carve into leather-hard clay to create lines, grooves, cross-hatching, and other linear textures.
Texturing adds nuance and interest to pottery pieces. Using a combination of techniques like impressing natural items, piercing bisqueware, and carving leather-hard clay results in complex, visually engaging textures.
Joining Clay Pieces
Joining separate clay pieces together is an important part of creating more complex pottery shapes and forms. There are several techniques for securely attaching handles, spouts, lids, and other attachments to the main clay body.
When joining clay pieces, it is crucial that the attachments are thoroughly fused to the main piece so there is no risk of breakage once the clay dries and is fired. The joining areas should be scored or roughened up so the slurry “glue” adheres properly. Slip, watered down clay, or commercial ceramic glue can be used to join areas together.
Some options for attaching clay pieces include:
- Handles – Cut and shape handle, score attachment area on pot and handle, apply thick slurry to both joining areas, firmly press handle onto pot and smooth seam. Allow to dry completely before handling.
- Spouts – Cut spout piece and pre-fire for strength, score attachment areas, apply slurry, and firmly press spout into place. Use coiling techniques to build up additional clay around the join.
- Lids – Cut lid to size and shape, score lid and rim areas, apply slurry, center lid and press down firmly so there are no gaps in the join. Allow to dry before handling.
- Decorative additions – Score areas to be joined, apply slurry, and press decorations into place. Let dry before smoothing seams.
When joining properly, attachments should feel completely fused with no cracks or weak points. Avoid putting stress on joins until clay is completely dry. With good technique, clay additions can be safely fired and used without risk of breakage.
Attaching spouts, handles, and lids expands the possibilities for more unique and complex ceramic creations. Mastering strong joining skills is key for potters ready to advance past basic forms.
Glazing
Glazing is one of the most fun and creative parts of making pottery. The glaze is what gives the pottery its finished look and feel. There are many different types of glazes to explore and experiment with. You can buy premixed glazes, but making your own glaze recipes allows for lots of creativity.
There are four main types of glazes – high-fire, mid-range, low-fire, and raku. High-fire glazes are used on stoneware clays fired between 2200°F and 2300°F. Mid-range glazes work at lower temperatures between 1900°F-2100°F. Low-fire glazes are for firing between 1600°F-1800°F. Raku glazes are a special type formulated for raku firing. When choosing glazes, make sure they are compatible with your clay body and firing temperature.
Glazes consist of three main ingredients – silica, fluxes, and stabilizers. Silica, usually in the form of silica sand, quartz, or frit, forms the glassy coating. Fluxes lower the melting temperature and influence glaze color and texture. Common fluxes are feldspar, dolomite, and calcium carbonate. Stabilizers help control glaze melting and prevent defects like crazing. Alumina and zirconium silicate are typical stabilizers.
When mixing your own glaze recipe, first weigh out the dry ingredients according to the recipe. Mix the dry ingredients thoroughly before adding water. Only add enough water to form a smooth creamy mixture. Test glaze consistency by doing a dip test on a bisque piece. The glaze layer should be even, smooth, and have the right thickness. Store leftover glaze in a tightly sealed container.
There are many ways to apply glazes for different effects. Dipping, pouring, and brushing are common techniques. Spraying glaze through an airbrush or spray gun allows very even, fine coatings. You can apply multiple layers or use resists like wax or latex to create patterns. Combining, layering, and blending different glazes leads to beautiful results.
Firing
Firing is the process of heating pottery or clay objects to high temperatures in a kiln to permanently harden them. There are various methods of firing clay, with different effects on the final piece.
The most common type of kiln used is an electric kiln, which allows precise control over firing temperatures. Gas and wood-fired kilns are also used frequently, adding effects like ash deposits on the clay surface. Maximum firing temperatures typically range from 1000°F to over 2000°F. Higher temperatures result in harder, more durable finished ceramics.
Firing temperature affects the color, strength, and properties of the final pottery. Lower temperatures around 1000-1100°F produce earthenware, which is porous and fragile. Stoneware clays require 1200-1300°F temperatures for vitrification and strength. Temperatures of over 2200°F produce dense, non-porous porcelain.
Specialized firing techniques like raku, pit firing, and sawdust firing create unique patterns, colors, and finishes on the pottery surface. Raku firing involves removing pottery from the kiln while red-hot to produce crackled metallic glazes. Pit firing utilizes a trench or pit dug into the ground to fire pottery, resulting in mottled colors and smoky effects from leaves, sawdust, or other organic materials. Each firing method requires specific clay bodies, glazes, and temperatures for the desired results.
Proper firing transforms clay into hardened, finished ceramics. Mastering various techniques and kiln types provides potters precise control over the final color, durability, and decorative effects on their pottery.
Finishing
After the firing process, there are still a few more steps to finalize your pottery piece. Sanding, staining, and sealing the pottery are important finishing techniques that give it a polished look.
Sanding smooths out any small imperfections caused during throwing, glazing, or firing. Start with a coarse grit sandpaper like 80 or 100 to remove larger irregularities. Then progress through finer grits like 220 and 400 for a smooth sanded finish. Always sand in a circular motion to blend the sanded area.1
Staining allows you to add color after firing by applying paint-like colorants. Stains work well on porous bare clay or sanded areas. Typical stains are made from metal oxides, like iron, cobalt, copper, and can produce blues, greens, browns, and reds. Multiple thin layers of dilute stain are better than one thick application.
Finally, sealing the pottery creates a protective barrier and enhances the colors. You can use glazes, waxes, varnishes or acrylics as sealants. Apply 2-3 thin coats with a brush or cloth, letting each layer dry between applications. The sealant’s sheen can range from matte to high gloss.
Troubleshooting
Pottery making can be fraught with issues at every step from shaping to firing. Here are some of the most common problems that arise and how to address them:
Cracks in Pieces
Cracks often occur when clay pieces dry too quickly. To prevent cracks, cover works in progress with plastic wrap or damp cloths when not actively working on them. Cracks can sometimes be fixed with slip, but may require starting over if severe. Slow down drying times by wrapping pieces when stored.
Thermal shock from improper kiln firing also causes cracks. Avoid increasing kiln temperatures too rapidly. Let pieces cool slowly after firing as well. Handle pieces carefully and do not knock one piece into another (according to Pottery Pro Craftsman).
Glaze Flaws
Bubble trapped under glazes can be smoothed out with a pin or exacto knife prior to firing. Wax resist can help glazes stay where intended and not run into undesired areas. Test glaze combinations on test pieces at the intended firing temperature to ensure compatibility (per Pottery Pro Craftsman).
Kiln Firing Issues
Improper kiln loading, temperature spikes, and programming errors can all cause firing mishaps. Load kilns carefully leaving enough space between pieces. Program ramps and hold times conservatively. Use a kiln sitter or pyrometer to double check kiln temperatures. Test fire new glaze and clay combinations separately before firing finished works.
Next Steps
After learning advanced techniques, there are several next steps you can take to continue growing as a potter:
Further Learning
Consider taking a workshop at your local ceramic studio or arts center to learn from professional potters. Many offer classes in throwing complex forms, using unique glazes, raku firing, and more. You can also find a wealth of tutorials and tips online and in books.
Join a Community
Connect with other potters by joining a ceramic arts guild or studio co-op. Share ideas, get feedback, and stay inspired. Attend exhibitions and events to see others’ work. Social media groups also allow connecting with potters worldwide.
Develop Your Style
Now that you have advanced skills, focus on developing a unique style. Experiment with new techniques, shapes, textures, and decorative touches to create signature pieces.
Consider Selling Your Work
If you feel ready, look into options for selling your pottery, such as art fairs, online shops, galleries, open studio events, or consignment. Price pieces appropriately and market yourself effectively.
With dedication and practice, you can continually refine your pottery abilities. Stay open-minded, creative, and curious to grow as an artist.