Understanding Underglaze Techniques For Clay Pottery
Underglazes are specialized ceramic colors used to decorate pottery and ceramic pieces that are covered by a transparent glaze. They are used to add designs, patterns, and color to pottery before a final protective layer of glaze is added. Underglazes differ from regular ceramic glazes in that they are formulated to be more opaque, allowing their colors to remain vibrant even when fired under a translucent glaze (https://www.soulceramics.com/pages/what-is-underglaze).
Common types of underglazes include:
- Liquid underglazes – these have a consistency like heavy cream or house paint and can be brushed on
- Underglaze pencils – colored pencils that allow detailed underglaze work
- Underglaze pastes or crayons – thicker underglazes for creating textured effects
The key benefits of underglazing include the ability to achieve bright, rich colors and intricate designs even after firing. The patterns and colors added with underglazes remain visible through the final transparent glaze layer. Underglazes are also very versatile – they can be painted, dipped, sponged, airbrushed, printed, or stenciled on. This allows for endless creative effects compared to regular glazes.
Underglaze Application Techniques
There are several common techniques for applying underglaze to bisqueware or greenware clay surfaces. Two of the most basic methods are brushing and sponging. Brushing with a soft brush allows for more control and finer details. Sponging creates a mottled, blended effect. Pouring underglaze can create interesting drips and pools, followed by tilting the piece to move the color around. Wiping and feathering involves dipping a sponge or brush in water to soften edges and blend the underglaze.
Using resists can block off areas to preserve the clay color beneath. Common resists include masking tape, wax, and latex resist. Once the resist is applied and dried, the exposed areas are painted with underglaze. When the resist is removed, it reveals the original clay color in that shape or pattern.
Sgraffito involves scratching through one layer of underglaze to reveal a different color underneath. For example, a red underglaze could be applied first, followed by a black overcoat. Once dried, a clay tool can be used to carve lines through the black to expose the red beneath. This creates contrasting red lines over the black background.
Achieving Different Underglaze Effects
There are many ways to manipulate underglazes to achieve unique decorative effects. Three popular techniques are creating crackle finishes, antique patinas, and faux stained glass.
Crackle effects add visual interest and an aged appearance to pottery. To create cracks, apply a layer of underglaze to bisqueware and allow it to fully dry. Then apply a contrasting color of underglaze on top. As the second layer dries, it will contract and crack, revealing the first color underneath. Using a quicker-drying underglaze for the top layer will increase cracking. Products like Amaco’s Crackle Glaze can also help produce pronounced crackling when layered under regular underglaze colors.
Antique style finishes are achieved by layering complementary underglaze colors. Start with a base color on bisqueware, then use contrasting colors thinned with water to stain, speckle, and accent the surface. Layering dark browns, blues, greens and cream colors works well for an aged look. Use crumpled plastic wrap or sponges for an irregular, mottled effect. Allow each layer to dry before adding the next. A final clear glaze firing provides a glossy aged patina.
Faux stained glass patterns can be created using underglaze outlines and sgraffito. First, apply a solid color underglaze to bisqueware. Then use a contrasting color to draw outlines of “glass” sections. Cut through the outlines with a craft knife or skewer to reveal the first color. Finally, go over all lines again to tidy them up. The color difference makes outlines look like lead cames in stained glass. Use tape or resists to create cleaner edge lines if needed.
For detailed techniques and product recommendations, check out these guides from The Pottery Wheel and Rat City Studios.
Blending and Layering Underglazes
When working with underglazes, you can blend colors and build up layers to create beautiful effects. To blend underglaze colors, simply mix them together in a container before applying to the bisque ware. Start with small amounts of each color and adjust the ratios as needed to achieve your desired shade. According to The Pottery Wheel, “You can blend underglazes on a tile or palette before applying to the piece, or directly on the piece itself. Blending on the tile gives you more control over the finished effect.”
You can also layer underglazes, applying coats of different colors on top of each other. As noted on PotteryCrafters.com, “Apply the lightest color first. Then overlap the next darkest color. The overlapping layers will blend softly into one another.” Let each layer dry before adding the next. Use a variety of brush techniques like stippling, dry brushing, and sponging to build up texture and dimension in the layers.
Washes made from diluted underglaze are great for gradually building up transparent layers of color. As The Pottery Wheel suggests, “Add a few drops of water to underglaze until it reaches a milk-like consistency.” Apply washes gently with a soft brush, sponge, or airbrush. Allow each layer to dry before adding the next. With careful layering and blending, you can achieve beautifully nuanced effects.
Sources:
https://thepotterywheel.com/underglaze-techniques/
https://potterycrafters.com/how-to-mix-underglaze/
Underglaze Design Ideas
Underglazes allow for a wide range of design options when decorating clay pottery. Some popular design approaches include:
Detailed Patterns
Intricate patterns like flowers, mandalas, geometric shapes, and repeating motifs work well with underglazes. The fluid nature of underglazes allows you to paint delicate details. Reference: https://www.pinterest.com/goodfortuneclay/pottery-underglaze-techniques/
Abstract Shapes
Underglazes can be used to create abstract designs with bold shapes, lines, and colors. Overlapping shapes and layers of color result in visually striking effects. Underglazes blend smoothly for seamless abstract designs.
Nature Themes
Inspiration from the natural world like plants, animals, landscapes, and organic shapes make for great underglaze designs. Varying the thickness and blend of underglaze colors can mimic natural textures.
Letter or Word Designs
Adding text elements like letters, words, quotes, or poems is an option for underglaze decoration. Use a steady hand to paint legible typography. Enhance lettering with borders, backgrounds, or accompanying imagery.
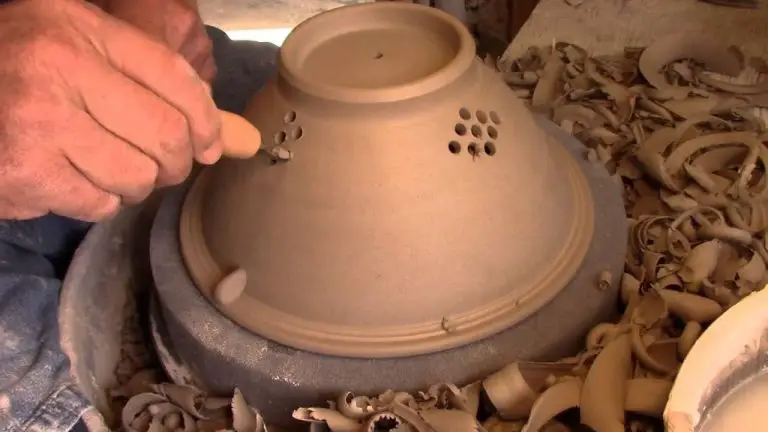
Preparing Clay Surfaces
Properly preparing the clay surface is a crucial first step for achieving the best results with underglazes. Underglazes go on smoother and more evenly on surfaces that are smooth, clean, and free of imperfections. Any texture in the clay will show through the underglaze, so take time to smooth surfaces thoroughly before applying underglaze. Use a rib tool, sponge, or even fine sandpaper to gently smooth away any ridges, bumps, or grooves.
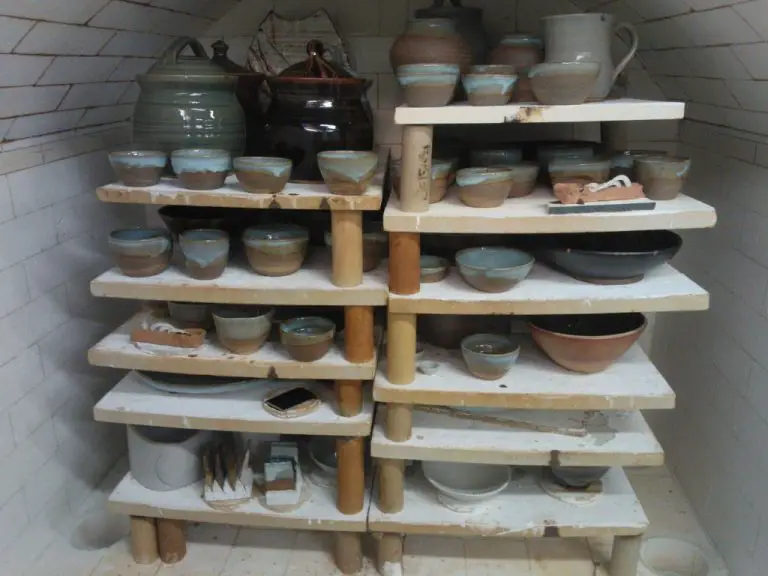
It’s also important that surfaces are free of dust, oil, or other contaminants that could cause underglaze to skip and flake off. Wipe down surfaces with a clean, damp sponge right before underglazing. For greenware, allow surfaces to dry completely after cleaning and before underglazing. For bisqueware, be sure to bisque fire according to the clay manufacturer’s recommendations so the clay is fully vitrified and stable for underglazing. Typically cone 04-06 bisque firing is recommended.(1)
Proper clay preparation helps underglazes adhere smoothly and permanently, allowing you to achieve crisp, clean results.
Choosing Underglazes
When choosing underglazes for your pottery, there are a few leading brands to consider:
Amaco is one of the most popular underglaze brands, known for their wide range of colors and excellent opacity. Their Velvet Underglazes are a top choice for smooth, vibrant colors [1]. Amaco underglazes are available in convenient sets with a range of hues [2].
Speedball is another trusted underglaze brand, offering good coverage at an affordable price point. Speedball underglazes have a thinner viscosity for detail work.
Important properties to consider are opacity, viscosity, and color vibrancy. Opaque underglazes will fully cover the clay surface. More viscous underglazes are better for broad application, while thinner underglazes allow finer detail work.
For special effects, look for metallic underglazes which create a lustrous shimmering finish. Color-shift underglazes change hue when fired. And fluorescent underglazes make colors pop under UV light.
Sealing and Protecting Underglaze Designs
After applying underglazes, it is crucial to seal the design using a clear glaze for protection and to enhance the colors. According to Big Ceramic Store, underglazes are porous and need to be sealed with a transparent glaze to keep them from absorbing moisture, prevent damage, and lock in the design.
There are several clear glaze options to choose from. Many potters opt for a high-fire clear glaze as it fully vitrifies and makes underglazes more vibrant. A mid-range glaze can also work well. Avoid low-fire glazes as they may end up foggy or crack. It’s best to use a glaze from the same manufacturer as the underglazes for compatibility. Apply 2-3 layers of the clear glaze to fully seal the piece.
Sealing underglaze designs is a crucial last step before firing. It protects the artwork, makes the colors pop more, and gives the finish a smooth, glossy look. Ensuring proper glaze coverage over the entire piece will prevent damage and fading over time. Taking the time to add a clear protective layer is well worth the effort for long-lasting underglaze designs.
Troubleshooting Issues
Underglazes can sometimes exhibit problems like cracking, bleeding, fading, peeling, or chipping. Troubleshooting these issues requires examining the materials and techniques used.
Cracking or bleeding of colors often occurs when underglazes are applied too thickly or when incompatible underglazes are layered. Applying thinner coats can help prevent cracking and bleeding (https://suemcleodceramics.com/troubleshooting-commercial-underglazes/). Fading or dull finishes can happen if the glaze applied on top is not formulated to melt at the right temperature for the underglaze. Choosing a compatible clear glaze designed for the specific underglaze brand can help the colors retain their vibrancy (https://community.ceramicartsdaily.org/topic/21891-underglaze-problems/).
Peeling or chipping of the underglaze layer is another common issue, which is often due to inadequate preparation of the clay surface before application. Properly cleaning, smoothing, and slightly scoring or slipping the surface can allow the underglaze to properly bond to the clay body. Firing to the correct temperature for the clay and glaze materials is also essential to avoid peeling or chipping.
Inspiring Underglaze Projects
Underglazes offer incredible versatility for creating beautifully decorated pottery. Here are some inspiring projects showcasing the range of effects possible with underglazes:
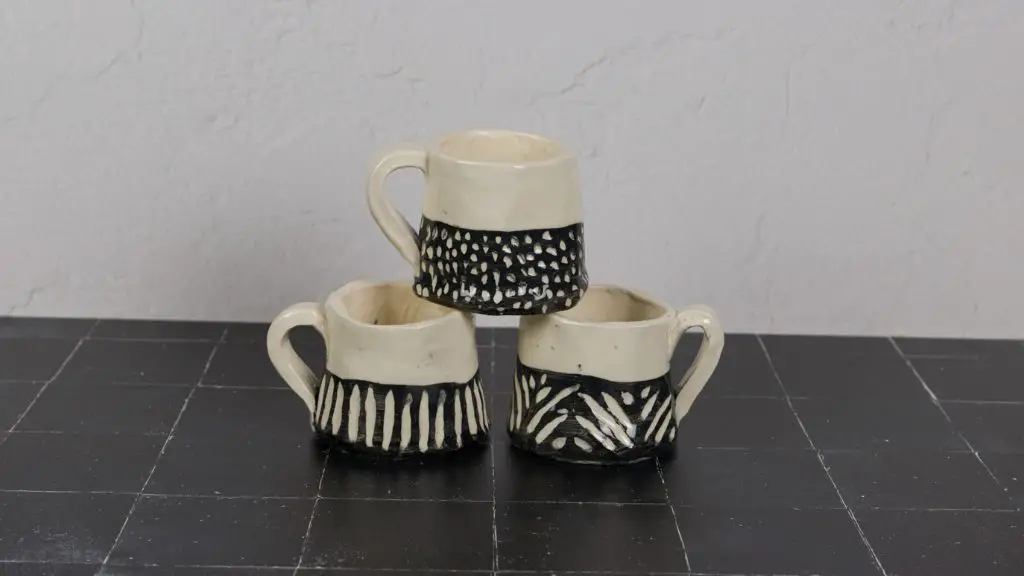
Geometric Mug
This handthrown mug features a graphic diamond pattern in black underglaze. The organized geometric design stands out against the matte clay background for a modern look. The creator likely used a combination of underglaze outlining and filling in the shapes to achieve the bold graphic style.
Sunset Plate
Soft blending of underglaze colors gives this plate a dreamy watercolor sunset scene. Light pinks and oranges mix subtly with blues and purples along the edges. The fade from dark to light colors towards the center mimics a fading sunset. A wet-on-wet ombré underglaze application creates the atmospheric blurring.
Flower Vase
Delicate flower detailing covers this vase, accomplished through precise underglaze brushwork. Outlining the petals and stems with a thin liner brush allows the flowers to stand out crisply. Varying the pressure while dragging the brush creates differences in petal width and shape. The flowers likely received multiple layers to build up the depth of color.
With the right techniques, underglazes unlock a world of decorative possibilities for pottery. Blending colors, making details pop, or even emulating other art styles is achievable by mastering underglaze application.