What Tools Do Knife Makers Use?
Knife making is a craft that involves multiple steps and specialized tools to take raw materials and transform them into a finished knife. The main stages include designing the knife, cutting and shaping the blade, heat treating and hardening the metal, grinding and polishing the blade, crafting the handle, and assembling the finished knife. Proper tools are essential for each step in the process in order to create a strong, functional, and aesthetically pleasing knife.
This article will provide an overview of the typical tools used by knife makers throughout the knife creation process. We will look at critical tools for cutting, shaping, and heat treating the blade steel, as well as tools for grinding, polishing, engraving, and constructing the knife handle and sheath.
Design and Planning
One of the first steps in knife making is designing the knife. Knife makers have several software options to help plan out their knife designs before starting the actual physical creation process.
Some popular knife design software tools include:
- Blender – An open-source 3D design program with knifemaking features [1]
- SolidWorks – A CAD program used by many custom knife makers [2]
- Adobe Illustrator – Useful for designing 2D templates and patterns
- Inkscape – An open-source vector graphics editor
These programs allow makers to visualize the knife design digitally first. This allows them to perfect the shape, dimensions, bevels, and other details before having to physically grind, cut, and shape the steel blank. While software is helpful, many makers still rely on hand-drawn sketches to conceptualize designs as well.
Cutting and Shaping Tools
Knife makers use a variety of power tools for cutting, grinding, and shaping blades. Some essential cutting and shaping tools include:
Power saws – Bandsaws and chop saws allow knife makers to efficiently cut steel blanks out of larger stock. Bandsaws provide clean, straight cuts with minimal blade waste.

Grinders – Belt grinders and wheel grinders rapidly shape and form the blade profile. A coarse grit belt sander can quickly remove material, while a fine grit belt refines the final edge. Angle grinders also grind and polish blades.
Files – Hand files help knife makers manually shape and smooth blades after grinding. Files come in varying coarseness and shapes for detailed blade work.
These cutting and shaping tools allow knifemakers to transform raw steel into precisely shaped blades with keen, sharpened edges. Power tools speed up the cutting process while files give artisanal control for finishing.
Heat Treating
Heat treating is a critical step in knife making that involves carefully controlling the heating and cooling of the steel to obtain the desired hardness, toughness, and edge retention. Knife makers use specialized equipment for heat treating including:
Furnaces: Knife makers use programmable furnaces to heat the steel to precise temperatures before quenching. Common models used are box, tube, and vacuum furnaces that allow setting ramp rates and target temperatures. Many makers prefer vacuum furnaces as it reduces oxidation and scaling of the steel. Popular brands include Evenheat, Paragon, and Lindberg.
Quenching oils: After heating the steel, makers quench it rapidly to harden the steel. Common quenching oils include parks 50 which is a mixture of mineral oils and paraffin1. The cooling rate depends on the type of steel – higher alloy steels like S30V require faster quenching2.
Tempering ovens: After quenching, the steel is tempered at lower temperatures to reduce brittleness. Knife makers use digital tempering ovens with controlled heating elements to precisely adjust the hardness and toughness of the steel.
Proper heat treating requires close control of temperatures, quenchant selection, and tempering times. With the right equipment, knife makers can achieve the optimal strength, edge retention and corrosion resistance for any steel.
Polishing and Finishing
A critical step in knife making is polishing and finishing the blade to achieve a smooth, shiny surface. Knife makers rely on various tools for this process including different grits of sandpaper, buffing wheels, and polishing compounds (Amazon.com).
Sandpaper is used from coarse grits to fine grits to gradually smooth out scratches and imperfections in the metal. Coarse grits like 80 or 120 are used initially while finer grits like 600 or 1000 are used for the final polishing stages (Charlie’s Wheel).
After sanding, buffing wheels with polishing compounds are used to buff the blade to a mirror finish. The compounds fill in any remaining microscopic scratches. Buffing wheels are made of materials like cotton, leather, or canvas and are spun at high speeds. Some common polishing compounds are white diamond, green chromium oxide, and jeweler’s rouge.
Achieving a flawless polished finish requires patience and attention to detail but is crucial for making both aesthetically pleasing and functional knives. The finishing work truly makes a hand crafted knife stand out.
Handle Materials
Knife handles can be made from various natural and synthetic materials. Two of the most popular natural handle materials for custom knives are stabilized woods and other organic materials like bone, antler, and shell.
Stabilized woods are natural woods that have been injected with resin to fill in pores and prevent cracking or rotting over time. Stabilization makes the wood harder and more durable while still retaining its natural beauty and grain patterns. Some popular stabilized wood choices include oak, maple, walnut, olivewood, ironwood, and burl woods with dramatic figuring. Stabilized exotic woods can provide stunning handles but are generally more expensive. See https://knifemaking.com/collections/handle-materials for many stabilized wood options.
Other organic handle materials like bone, antler, mammoth tooth, and mother of pearl shell can create unique custom handles. Bone and antler handles bring an organic warmth and texture. Mammoth tooth and mother of pearl are rarer choices treasured for their iridescent beauty. Natural materials require extra care and sealing/stabilization but make one-of-a-kind handles when done right. See https://www.bladehq.com/blog/knife-handle-materials-guide/ for more on working with these materials.
Assembling the Handle
One of the most important steps in knife making is attaching the handle to the tang of the blade. There are two main methods for assembling the knife handle – using epoxy and using pins.
Epoxy is a strong adhesive that creates a permanent, waterproof bond between the tang and handle material. Knife makers use two-part epoxy that comes as separate resin and hardener components that must be thoroughly mixed together before application. Popular brands like G-Flex, Acraglas and JB Weld provide excellent adhesion and gap-filling abilities for assembling knife handles. The epoxy is applied to the surfaces, the handle material is fit over the tang, then clamped tightly until the epoxy cures fully (Source).
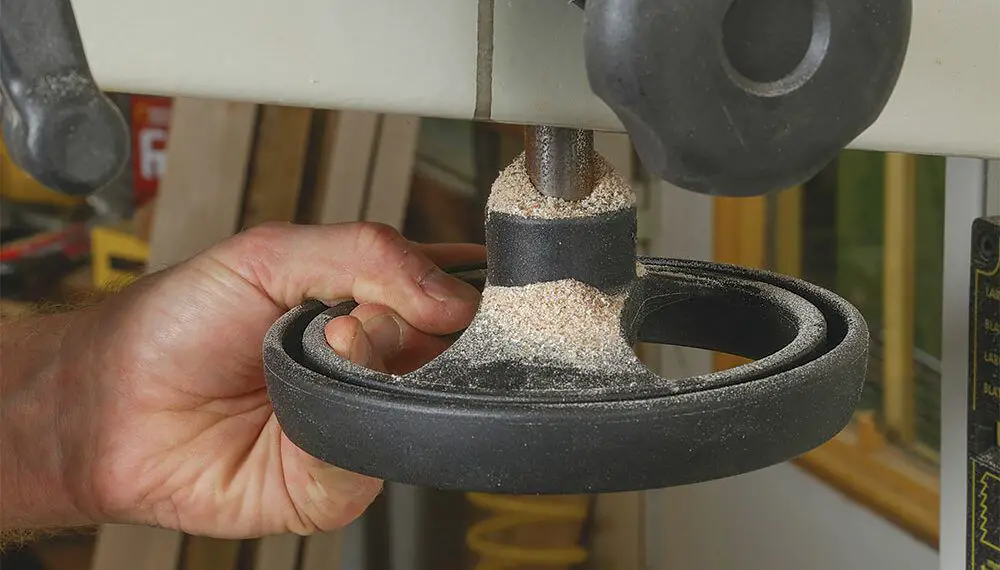
Pins provide a mechanical attachment between the tang and handle. Pins are hammered through pre-drilled holes in the tang and handle material. Common pins are made of brass, nickel silver or stainless steel. Using pins alone provides a tight friction fit. Adding epoxy with pinned handles creates extra strength and stability. Installing pins requires careful drilling and alignment of the holes. A drill press helps drill straight pins holes (Source).
Proper clamping of the handle parts during assembly ensures a tight fit and even epoxy spread. Bench vises, C-clamps, locking pliers or commercial knife handle clamping jigs apply controlled, evenly distributed pressure while the epoxy sets.
Sheath Making
Sheaths are one of the most important yet often overlooked pieces of equipment for knife makers. A well-made sheath not only protects the blade and user from injury, but can add to the overall aesthetic and value of the knife (https://noblie.eu/knife-sheaths/). There are several common materials used to craft knife sheaths, each with their own advantages and uses.
Leatherworking is a traditional and attractive option for sheaths. Many knife makers choose leather for its flexibility, durability, and classic look. Leather sheaths are often hand-stitched and allow makers to tool custom designs or embellishments into the leather (https://bladeops.com/blog/sheath-materials). Stiffer vegetable tanned leather tends to hold its shape better than softer leathers.
Kydex is a popular thermoplastic that can be heated and molded into a custom knife sheath. Kydex allows for a secure and snug fit, and has good durability and water resistance. It can be quickly formed using a vacuum press and retains its shape even under hot and cold conditions. Kydex sheaths often use mounting hardware that allows them to be clipped or attached to a belt or gear.
Injection molded plastics like Boltaron and plastic laminates are also common sheath materials. These plastics allow sheaths to be mass produced efficiently while still providing protection and retention for the blade. Plastic sheaths are inexpensive, lightweight, waterproof options.
Engraving and Etching
Knife makers have various options for adding decorative engraving or etching to their blades. Three of the main techniques are laser engraving, acid etching, and hand engraving.
Laser engravers use a focused laser beam to etch designs into metal surfaces. This allows for precise computer-controlled engraving for repetitive patterns or detailed artwork. Laser engravers like the Epilog Laser are commonly used by knife makers. As noted in this instructional video, laser settings can be adjusted to control the depth and appearance of the engraving.
Acid etching involves using corrosive compounds like ferric chloride to “bite” designs into a blade’s surface. The depth can be controlled by adjusting the etchant concentration and exposure time. Masking agents like wax are used to prevent etching of non-design areas. Acid etching allows hand-drawn artistic designs.
Hand engraving uses specialty engraving tools like chisels, mallets, and scribers to incise designs into the metal. This takes great skill but allows for artistic custom engraved patterns. Hand engraving can enhance the beauty and value of a custom knife.
Conclusion
In summary, the most essential tools for knife making include an angle grinder, belt sander, drill press, forge, anvil, hammers, files, bench grinder, buffer, and polishing equipment. For blade cutting and shaping, an angle grinder with a cutting disc and belt sander are crucial for beveling and profiling the blade. A drill press allows precise drilling of holes for handles and pins. Heat treating and forging can be done with a simple propane forge and anvil. Filing, sanding, and finishing tools like bench grinders, buffers, and polishing equipment give the blade a fine finish. While there are many other specialty tools, this basic toolkit allows beginners to start crafting fine knives. The key for new makers is to start simple, practice often, invest in quality equipment, and continue expanding one’s skills over time.


