Beginner’S Guide To Clay Art: Techniques And Inspiration
Clay has been used for artistic expression and functional pottery since ancient times. Archaeological evidence shows artisans crafted clay vessels, figurines, and bricks as far back as 24,000 BC. Everything to Know About Clay Illustrations Art. Since then, the versatility of clay has made it a popular choice among artisans and hobbyists.
Some of the most common clay art forms include sculpting, wheel throwing, and handbuilding techniques like pinch pots, coils, and slabs. Artists also decorate, glaze, and fire clay to create one-of-a-kind pieces. Clay is an accessible and therapeutic material to work with. It’s forgiving, reusable, and requires minimal tools or space. Many benefit from its tactile qualities and find the process of manipulating clay relaxing and satisfying. Creating with clay stimulates self-expression and creativity.
Clay Types and Properties
There are many different types of clay used in clay art and pottery. Some of the most common types include:
Earthenware
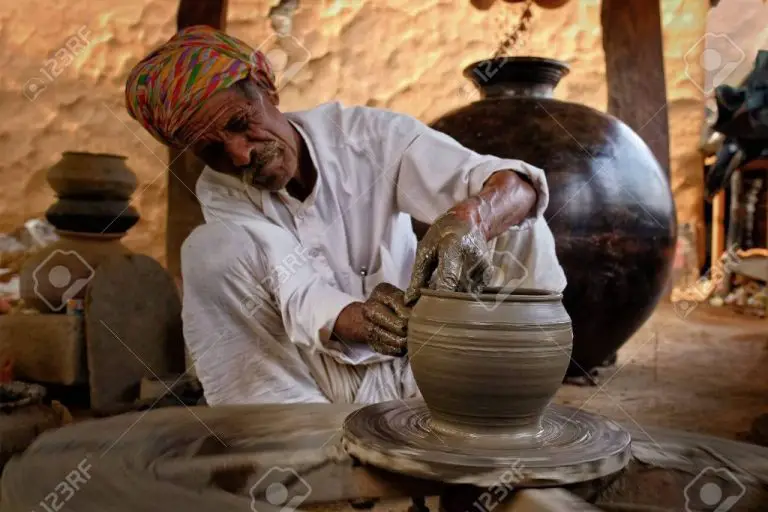
Earthenware is a porous, low-fire clay that is easy to work with and available in a wide range of colors, making it popular for handbuilding and wheel throwing. According to Rajasthan Studio, earthenware clay requires firing temperatures between 1000°C – 1200°C. It is not as durable as stoneware or porcelain.[1]
Stoneware
Stoneware is a dense, vitreous clay that can withstand higher firing temperatures ranging from 1200°C – 1300°C. It is less porous than earthenware, making it more water-resistant. Stoneware maintains its shape well and has a nice finished surface, so it is commonly used for functional pottery as well as sculptures.
Porcelain
Porcelain is a premium white firing clay made with kaolin that becomes glass-like and translucent after high-temperature firing above 1200°C. According to Jerry’s Artarama, porcelain is smooth, extremely hard, and has very low porosity, making it ideal for detailed sculptures.[2] However, it requires careful drying and firing.
Choosing Clay
Consider the type of project, desired characteristics, your skill level, firing capabilities, and budget when selecting clay. Porcelain is best for delicate sculpting work, while stoneware is very versatile. Earthenware is beginner-friendly and good for handbuilding. Test small amounts when trying a new clay to ensure it suits your needs.
[1] https://rajasthanstudio.com/10-best-types-of-clay-used-in-clay-sculpting/
[2] https://www.jerrysartarama.com/free-art-instruction-videos/types-of-clay-sarah-pearce
Clay Handbuilding Techniques
Clay handbuilding refers to techniques for manipulating clay into functional or decorative forms without the use of a pottery wheel. Some of the main handbuilding techniques include:
Pinched Forms
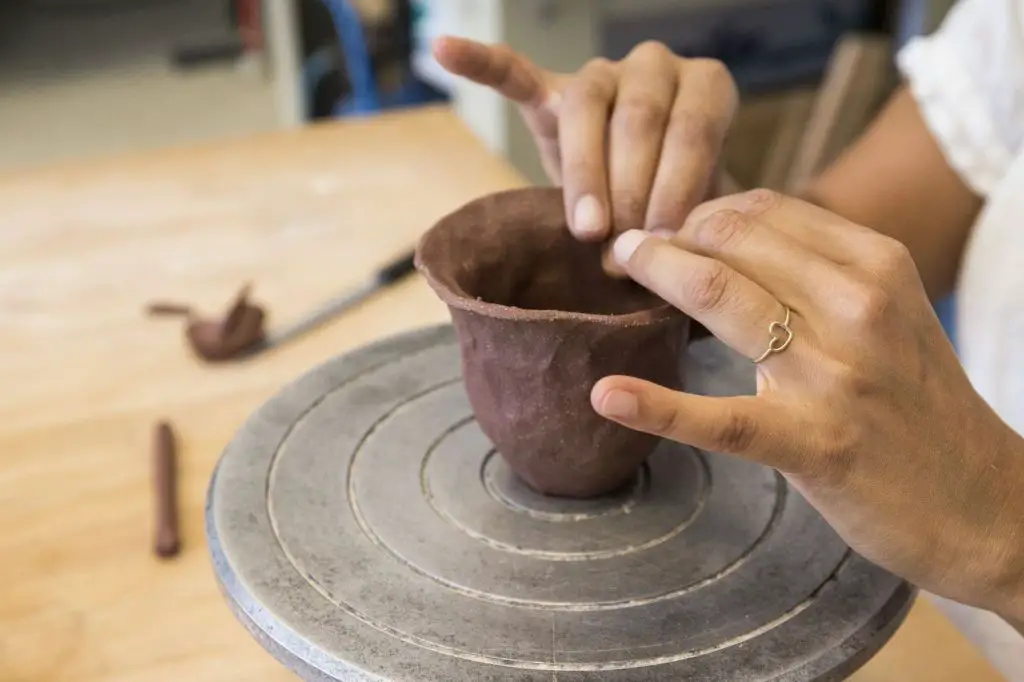
Pinched clay forms involve squeezing and pinching the clay with fingers and hands to form simple shapes like bowls, cups or vases. This is one of the most basic handbuilding techniques and is great for beginners. To create pinched forms, take a ball of clay and push thumbs into the center while pinching the sides up with fingers. Smooth cracks and pinch until the desired shape is achieved.
Coil Building
Coil building involves rolling out and stacking ropes or coils of clay on top of each other to build up 3D forms. Clay coils can be stacked vertically or horizontally and smoothed together using fingers, a rib tool, or a rubber kidney tool. Coiling is useful for making cylindrical shapes like vases, jars and pots. For stability, each coil should be attached and blended well with the coil below it.
Slab Building
Slab building uses flat sheets or slabs of rolled out clay to construct forms. Clay slabs can be cut into shapes using templates and assembled into boxes, cups, tiles or free-standing sculptures. Slabs may be joined using the score and slip method by scratching and applying slip (liquid clay) to surfaces before pressing together. Clay slabs can be draped over molds for shaping. Cut-out shapes can be decorated using stamps, rollers or carving tools.
Basic handbuilding tools include ribs, loop tools, pottery knives, wood modeling tools, sponges, and rubber tips for smoothing, refining details, and joining slabs. Understanding these fundamental techniques opens up creative possibilities for handbuilding original pottery.
Clay on the Wheel
Working with clay on a pottery wheel allows you to create symmetrical pieces with smooth curves and refined shapes. Mastering the wheel takes practice, but learning the basics opens up many possibilities.
The first step to any wheel-thrown piece is centering the clay. This involves securing a ball or lump of clay onto the center of the spinning wheelhead. Using gentle but firm pressure, shape the clay into a cone or dome while continually re-centering it as the wheel turns. The goal is to center the clay so it stays balanced and stationary as the wheel rotates.
Once centered, you can begin opening up the form. Use your thumbs to press into the top of the clay, while keeping your fingers outside to support the walls. Open the form gradually, resisting the urge to stretch the clay too quickly, which can cause thinning or tearing. Create an even, rounded interior by working in a fluid motion and maintaining an oval profile.
With an open form, you can then pull up the walls to shape your piece. Compress the clay with your fingers and palms to thin out areas, or pinch and pull to refine the lip. Smooth shaping is achieved through slow, consistent wheel speed and using tools like ribs and loop tools. You can make utilitarian pieces like bowls, vases, and plates, or sculptural forms by altering the silhouette.
Throwing on the wheel requires coordination and a feel for the clay that develops over time. Take it slow, watch tutorial videos, and don’t get discouraged. Centering well and maintaining an even wall thickness will lead to success.Clay wheel tutorials are a great resource for mastering the fundamentals.
Sculpting with Clay
Clay is a versatile material that allows artists to sculpt freestanding works of art. There are several sculpting techniques used when working with clay:
Carving involves taking a block of clay and removing material to create a desired form. This subtraction method is great for sculpting realistic figures or busts. Carvers use specialized tools like loop tools, ribs, and wire tools to carefully chip away and refine the clay (source).
Modeling is an additive technique where clay is rolled, pressed, and smoothed into shape by hand. This intuitive approach is common for sculpting abstract, figural, or conceptual pieces. Clay is very responsive, enabling artists to form unique shapes and textures with their hands.
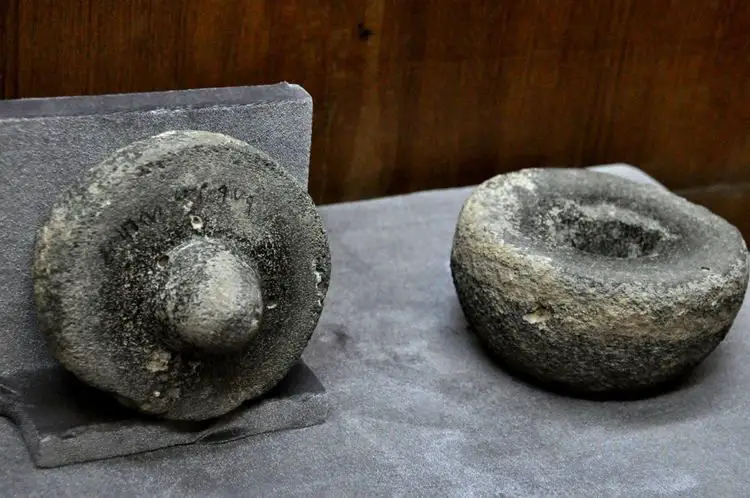
Mold making and casting allow duplicating sculptures. To make a mold, liquid clay or plaster is poured over an original sculpture. Once dried, the mold is opened and the original removed. Liquid casting clay is then poured inside the mold cavity to create an exact copy of the original piece (source). Casting enables efficiently producing multiples or larger projects.
Clay’s ability to be endlessly reshaped makes it wonderful for sculpting. These techniques allow artists to handcraft unique pottery and freestanding works of art.
Texturing and Decorating
There are many techniques to add interest and visual appeal to clay pieces through texturing and decorating the surface. Here are some of the most popular methods:
Adding Texture
Textures can be impressed into the surface of clay in various ways:
- Carving – Using clay carving tools, you can incise patterns and textures directly into the leather-hard clay. This allows you to create unique designs like line work, cross-hatching, etc.
- Press molds – Pressing clay into a textured mold leaves an impression on the surface. Molds can be handmade or purchased, and reused many times.
- Slip trailing – Using a trailing slip bottle, liquid clay slip can be drizzled onto the surface to create raised detailing as it dries.
Surface Decoration
There are many ways to embellish and decorate the clay surface including:
- Glazing – Applying colored glazes by brushing, dipping or spraying, and then firing to fuse it to the clay.
- Painting – Acrylic and specialized clay paints can be used on fired or unfired clay.
- Staining – Watered down slips, acrylic paints and oxides can be wiped onto the clay surface to add color.
For inspiration on texturing techniques, see this video: Clay art home decor ideas | MCAM
Vintage-inspired clay crafts often incorporate distressing and textured elements as seen here: Vintage style decorating uses items from the past
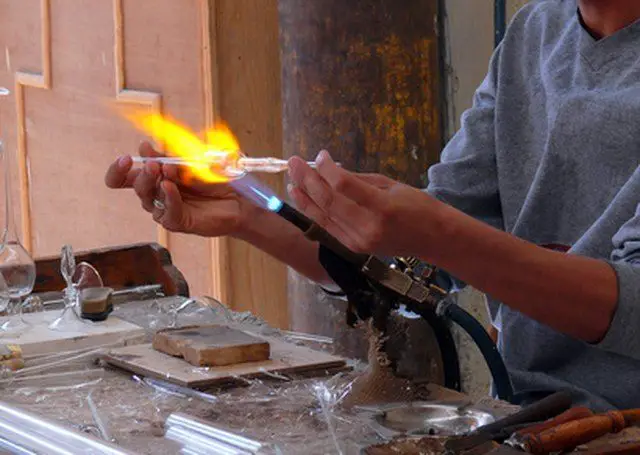
Firing and Finishing
Firing clay is an essential step to permanently harden and finish clay artworks. There are two main stages of firing clay: bisque firing and glaze firing. Bisque firing refers to the first firing done on raw, unfired clay. This initial bisque firing solidifies the clay body and prepares it for glazing and decorating. Bisque firing is done at a lower temperature, usually around cone 04-06 (1800-1900°F).
During bisque firing, chemical water and other material burns out of the clay which causes it to harden and become ceramic. Slow bisque firing over 8-12 hours helps prevent cracking and warping. It’s important not to under-fire or over-fire clay at the bisque stage. Under-firing will result in weak, fragile artwork while over-firing can cause bubbling, distortion, and other defects. Check for signs of proper bisque firing like a light overall color change and a hard, durable surface.
After bisque firing and decorating with glaze, the clay undergoes a higher temperature glaze firing. Glaze firing melts the glass-like glaze coating to a glossy, watertight finish. Typical glaze firing temperatures range cone 06-10 (2200-2350°F). Similar to bisque firing, a slow ramp up and down over 6-10 hours is recommended. Make sure to follow the manufacturer’s instructions for proper glaze firing temperature and any special glaze firing tips.
There are several types of kilns used for firing clay including electric, gas, raku, and wood-fired kilns. Electric kilns are most common for hobbyists and small studios. Choose an electric kiln with enough interior cubic footage for the size of your pieces. Programmable electric kilns allow control over customizable firing cycles. Gas kilns can reach higher temperatures fast and are common for production studios. Raku and wood-fired kilns are more specialized for unique finishing effects like cracking or smoky finishes on the clay surface.
Safety
When working with clay, there are some important safety considerations to keep in mind, especially when dealing with materials, tools, and kilns. Setting up your studio properly and using caution while working can help prevent accidents and injuries.
Make sure your studio has adequate ventilation, as some clay materials and glazes can release fumes. Use dust masks when working with dry clay or glazes to avoid inhaling particles. Wear an apron to keep your clothing clean, and safety goggles to protect your eyes from splashes and debris. Keep a bucket of water nearby when working at a wheel to keep clay wet.[1]
Be mindful of sharp tools like needle tools, loop tools, and pottery knives. Handle them with care and store properly when not in use. Avoid distractions when using clay tools and give the clay your full attention.[2]
Take precautions when using a kiln to fire clay work. Place kilns in a ventilated area away from flammables. Use kiln gloves when loading or unloading to prevent burns. Follow the manufacturer’s instructions carefully regarding firing times and temperatures. Install a kiln sitter device to automatically shut off the kiln if it overheats.
Overall, remain focused when working with clay and don’t rush the process. Taking the proper safety steps will allow you to enjoy the creative process without risk of injury.
Sources:
[1] https://www.pinterest.com/pin/take-heart-safety-pins–381820874666981517/
[2] https://en.photo-ac.com/photo/22192428
Inspiration and Tips
Here are some inspiring ceramic artists and helpful tips for beginners:
Profiles of Successful Ceramic Artists
Jennifer McCurdy (https://jennifermccurdy.com/) creates beautiful porcelain sculptures of the human form. Her minimalist figures showcase both strength and vulnerability.
Viola Frey was known for her larger-than-life ceramic sculptures of people. She pushed the limits of clay and glazes to create colorful, dynamic figures. The Cantor Arts Center has an extensive collection of her work (https://museum.stanford.edu/exhibitions/viola-frey-retrospective).
Peter Voulkos pioneered abstract expressionist ceramic sculpture. He freely experimented with form, creating organic, improvisational pieces. The de Young has examples in their permanent collection (https://deyoung.famsf.org/artists/peter-voulkos).
Tips for Beginners
Start simple – Focus on basic shapes and functional items before tackling more complex sculptures. Cups, bowls, and vases make great beginner projects.
Practice centering clay on the wheel – This essential skill takes time to master. Be patient and do simple centering exercises to develop muscle memory.
Study human and animal anatomy – Understanding muscles, bones, and proportions will help inform realistic figures.
Creative Inspiration
Look to nature for inspiration – Plants, seashells, bones, and stones make beautifully intricate subjects.
Tell a story – Build a narrative sculpture with multiple related figures and props.
Incorporate found objects – Press items like beads, buttons, and broken jewelry into the surface for mixed media effects.
Resources
Clay art is inspiring to explore, and there are many resources available to deepen your knowledge and hone your skills. Here are some recommendations for further learning through books, blogs, videos, and classes:
Books
Some excellent books for learning clay techniques and finding inspiration include:
– The Complete Guide to Mid-Range Glazes by John Britt
– Handbuilt Pottery Techniques Revealed by Lindsay Oesterritter
– 500 Figures in Clay by Lark Books
– Creative Pottery by Peter Cosentino
Blogs and Websites
Check out these blogs and websites for tips, tutorials, inspiration galleries, and more:
– Mudtools.com
– Ceramicartsnetwork.org
– Linda Arbuckle Ceramics
– Pottery Making Illustrated
– Fresh clay
Videos
Some excellent Youtube channels to follow include:
– Hsinchuen Lin
– Ceramic Arts Network
– Clay Share
– Simon Leach Pottery
Online Classes
Take your skills to the next level through online workshops and classes:
– Ceramic Arts Network: various classes
– Craftsy: Helen Levi pottery classes
– Skillshare: Handbuilding with clay classes
– Udemy: Mastering Wheel Throwing