Clay Crafting For Young Artists: Projects For Creative Expression
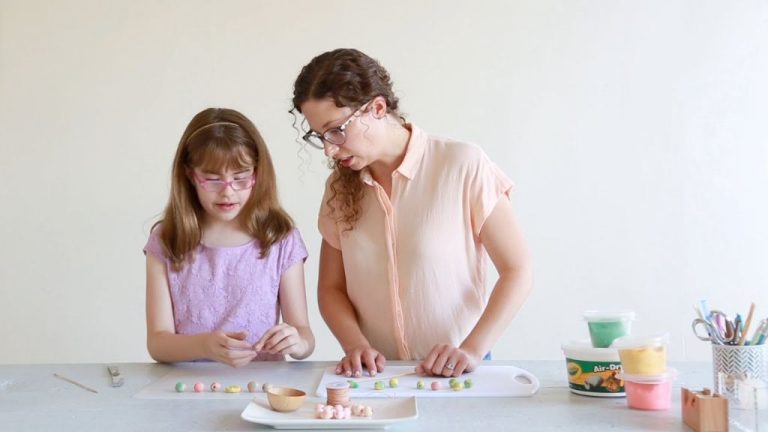
Clay crafting provides many benefits for young children’s creative development and expression. Working with clay engages multiple senses – touch, sight, smell, and hearing. The tactile experience helps children develop hand-eye coordination and fine motor skills as they sculpt shapes and figures. As children pound, roll, squeeze, and manipulate the clay, they build strength in their hands, fingers, and wrists. The open-ended nature of clay inspires imagination and creativity. Children can shape the clay into anything they envision. The process allows them to bring their ideas to life in 3D. Displaying finished artwork builds self-esteem and gives children a sense of pride and accomplishment.
According to research, “clay play is a multi-sensory hobby: touch, sight, smell—and even sound” that “encourages sensory development” (Source). As children explore the physical properties of clay, they go through important developmental stages that build skills. This introduction provides an overview of using clay crafts to support young artists’ creative expression and development.
Basic Clay Projects
Some of the most fundamental and enjoyable clay crafts for young artists are coil pots, pinch pots, and slab constructions. These projects allow kids to get familiar with working and shaping clay in creative ways.
Coil pots involve rolling clay into long coils or “snakes” then stacking the coils to build up the sides of a pot or bowl shape. This is a great way for kids to practice making uniform coils and get a feel for joining clay pieces together. As coils are stacked, they can be gently pressed together and smoothed to bond them. A coil pot is finished once it has reached the desired height and shape.
Pinch pots utilize a similar technique but with one solid ball or lump of clay. The clay is pinched and pressed thin while shaping it into a simple pot form. Fingers are used to pinch the clay wall up and create the interior space. Pinch pots are an easy introductory project for learning to mold clay.
Slab construction refers to building forms by joining flattened pieces or slabs of clay. The slabs can be cut into shapes then assembled into boxes, bowls, and anything the imagination desires. Decorative textures and patterns can be pressed into the clay slabs before constructing the final piece. Slab building promotes creativity and problem-solving skills.
These basic techniques allow young artists to start crafting bowls, vases, cups, and containers out of clay. As their skills develop, the projects can increase in complexity and creativity. Starting simple establishes a strong foundation for working with clay.
Source: https://www.pinterest.com/lezleehustad/clay-projects-for-kids/
Sculpting Figures
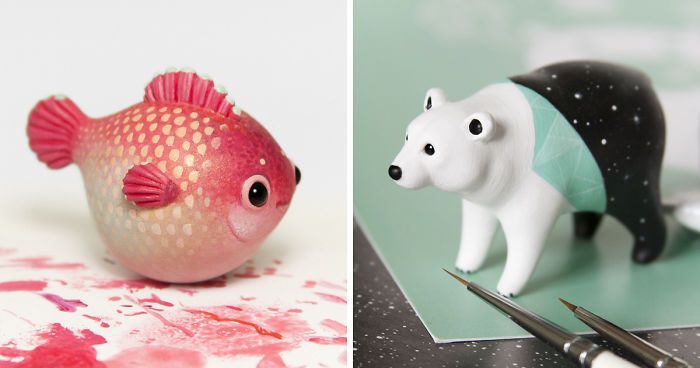
Sculpting figures out of clay allows young artists to explore their creativity in three dimensions. Kids can make animals, people, abstract sculptures, and more. Some ideas include:
- Sculpt people – Make a self-portrait or sculpt family members. Pay attention to unique facial features and hairstyles. Use small balls of clay for eyes and noses.
- Create animals – Sculpt pets like dogs, cats, hamsters, fish, and lizards. Give each animal unique textures and features like floppy ears or scales. Make mythical creatures like dragons and unicorns.
- Craft abstract art – Let kids’ imaginations run wild with abstract sculptures. They can pinch, roll, and stack clay into creative forms.
- Make thumb pots – Have children make small bowls and vases by pressing their thumbs into balls of clay. Pinch the sides up into pot shapes.
- Assemble clay collages – Kids can sculpt small objects like flowers, animals, and geometric shapes, then assemble them into fun collage sculptures.
Encourage young artists to make their figures sturdy by pushing wire or toothpicks into the bottom as support. Let the clay air-dry fully before painting sculptures with acrylics or glazing with clear finishes. For inspiration, see examples at https://www.pinterest.com/lezleehustad/clay-projects-for-kids/.
Making Jewelry
Kids can have a blast making their own jewelry out of clay. Simple clay beads and pendants are an easy way to get started. Roll small balls of clay into round beads and press gently to smooth. Add holes before baking using a straw or skewer. Let kids get creative shaping geometric pendants by rolling clay into a rectangle, then using cookie cutters to make fun shapes. Attach a jump ring before baking for easy stringing
Clay is also great for making earrings. Cut thick clay “slices” and use a hole punch to add the hole before baking. Or roll snake coils of clay to form dangling earrings. Tiny clay beads can be strung together into earring drops. The options are endless when making homemade clay jewelry! Just remind kids that lightweight earrings work best.
When making jewelry, it’s important to bake clay pieces correctly according to package directions. Allow all clay jewelry to cool fully before wearing. And advise kids to avoid getting water or many skin products on clay jewelry to extend its lifespan. For inspiration check out this clay jewelry kit or this tutorial on clay necklaces.
Decorating Techniques
There are many fun ways to decorate clay creations to make them colorful and unique. Here are some of the most popular decorating techniques for young artists:
Painting
Acrylic paints work wonderfully on baked polymer clay. Make sure to use acrylics labeled “non-toxic” and “AP certified” if the pieces will be handled by children. Apply paint with brushes or fingertips. Add details like facial features to sculptures or designs to jewelry. Acrylic paint will allow the clay’s texture to show through.
Another option is to use oil-based enamels, applied sparingly and baked according to package directions. Enamels create a smooth, glassy finish.
Glazing
For a glossy look, brush on glazes specifically made for polymer clay before baking. These come in various finishes like gloss, satin, and pearl. Follow manufacturer’s instructions closely as some glazes require an additional firing after the clay has been baked.
Stamping
Press rubber stamps into raw clay to easily imprint patterns, textures, and designs. Try stamps with simple shapes, letters, or scenes. You can also make custom stamps by gluing objects like buttons, beads, or pasta shapes onto block erasers. Let kids get creative with stamping their own textures using household items.
To add color, apply acrylic paint to the stamps before pressing them into the clay.
Displaying Artwork
Displaying your little artist’s clay creations is a fun way to decorate your home and showcase their talents. Here are some creative ideas for stands, wall mounts, and shelves to proudly put their artwork on display:
Make DIY stands out of everyday materials like wood blocks, dowels, and cork boards. Glue pieces together to create custom stands in fun shapes. Paint or decoupage the stands to coordinate with your decor. Add height with risers or platforms so sculptures can be prominently displayed. Refer to this guide for 28 Charming Ways To Use Your Kids’ Art As Decor.
Wall mounts are another easy way to show off clay art. Attach shelves, ledges, or picture rails to display sculptures. Create a gallery wall of framed clay tiles or plaques. Hang sculptures from fishing line or command hooks for a floating effect. Get creative with unusual materials like ladders, crates, or driftwood as wall art displays.
Dedicate a corner, tabletop, or dresser to showcase your child’s collection of clay pieces. Rotate the artwork every so often. Add risers of varying heights to create an artful arrangement. Incorporate natural elements like stones, sand, moss, or flowers for an engaging display. Change it up seasonally or for holidays.
Finding creative ways to exhibit your young artist’s clay creations will make them beam with pride. Use wall mounts, shelves, stands and other innovative display ideas to highlight their hard work and developing artistic talents.
Clay Recipes
Kids have many options when it comes to the types of clay they can use for their projects. The two main categories are store-bought and homemade clay.
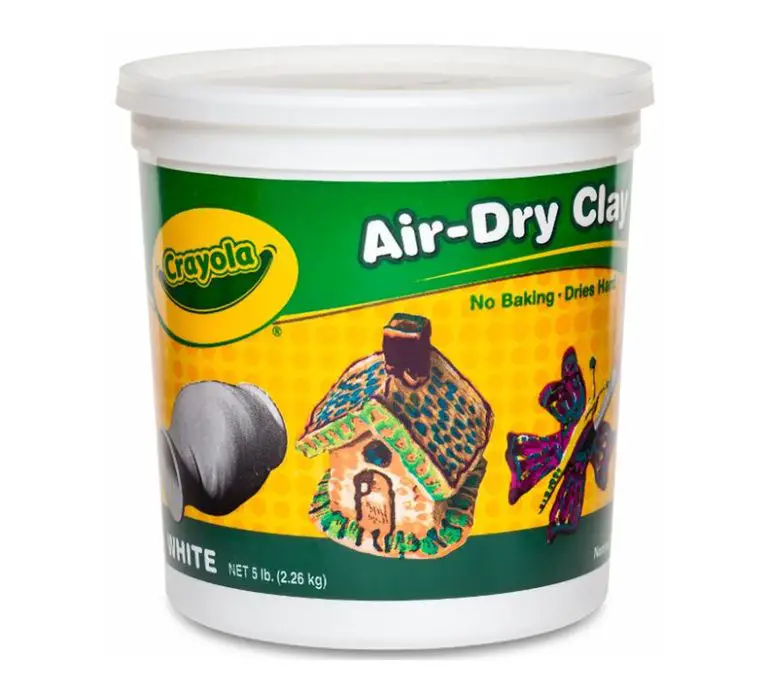
Store-bought clays like Model Magic or Crayola Model Magic are very convenient. They come pre-made so kids can start sculpting right away. These clays don’t require any baking or special storage. They also come in a variety of colors. However, store-bought clays can be more expensive and may dry out over time.
Homemade clays allow kids to get creative with ingredients and make their own clay in any color they want. Recipes usually involve simple ingredients like flour, salt, water, and tempera paint for color. Homemade clays are very budget-friendly. However, they require more hands-on work upfront to make the clay dough. Homemade clays also need proper storage so they don’t dry out. Most recipes call for air-drying the finished sculptures.https://onelittleproject.com/how-to-make-clay/
Kids can experiment with both types of clays for different techniques and projects. Store-bought clays may be easier for very young artists first starting out. Older kids may enjoy customizing their own homemade clay recipes.
Tools and Supplies
Having the right tools and supplies is essential for young artists to get the most out of their clay crafting projects. Here are some of the most useful items to have on hand:
Essential Tools:
Clay modeling tools like sculpting knives, loop tools, and clay shapers allow kids to shape, smooth, and add detail to their clay creations. Consider getting a basic sculpting tool set like this 12-piece kit from Sculpey: https://www.amazon.com/Kids-Clay-Crafts/s?k=Kids+Clay+Crafts
A work surface like a ceramic tile, glass, or acrylic sheet provides a smooth, sturdy base for sculpting. Plastic placemats also work well.
Rollers, acrylic rods, and clay extruders help flatten and shape soft clay into sheets or customized forms.
Optional Extras:
Texture sheets, stamps, stencils, and modeling tools create patterns, imprints, and shapes in clay.VARIETY matters, so collect an assortment of textures. Check craft stores for supplies or make your own DIY stamps.
Cutters allow for consistently sized and shaped clay slices. Basic circle and square cutters are very useful. Consider getting a clay cutting machine for efficiency.
Molds provide quick shaping for complex designs. Choose molds with simple objects first, then graduate to more intricate styles as skills improve.
Having the proper tools makes clay crafting easier and expands what young artists can create. Invest in high-quality, age-appropriate items for safe, successful projects.
Safety Tips
When working with clay, safety should always be the top priority, especially when children are involved. Proper adult supervision is crucial. Here are some key safety tips to keep in mind:
Always supervise children closely when working with clay. Do not leave them unattended, as they may be tempted to put clay in their mouths or noses which can cause choking or blockage. Children under 3 years should not work with small clay pieces due to choking hazards (Crayola).
Make sure hands are washed thoroughly after working with clay. Some clays contain chemicals that can irritate skin. Work surfaces should also be kept clean.
Follow all manufacturer’s instructions carefully regarding clay firing temperatures and times. Remove any items such as glass or plastic beads before firing as they can melt or release toxic fumes (CPSC).
Proper ventilation is important when firing clay in a kiln. Open windows and use fans. Avoid breathing in fumes. An adult should always monitor the kiln.
Store clay in a sealed container out of reach of small children and pets. Some clays can dry out quickly so retain moisture according to directions.
Be aware of any food allergies when working with clay. Some clays contain wheat or cornstarch and may cause reactions.
With supervision and by following basic safety rules, clay crafting can be an enjoyable and rewarding experience for young artists!
Conclusion
In summary, clay crafting provides an engaging and satisfying means for young artists to access their creativity. By sculpting clay figures, making jewelry, and experimenting with decorating techniques, children can express their unique ideas while developing fine motor skills and having fun.
We hope this guide has inspired young artists to explore the limitless possibilities of clay. With some basic materials and safety precautions, kids can shape their imaginations into tangible creations. The sense of accomplishment from finishing a clay piece also builds confidence and self-esteem.
Clay crafting allows children to envision something in their minds and then bring it to life with their hands. This process stimulates ingenuity, problem-solving, and individual expression. We encourage young artists to stay curious, keep practicing new techniques, and let their inner world take shape.
Clay is an incredible artistic medium that develops creativity and skills starting at a young age. We hope this guide has sparked inspiration to pick up some clay and see where imagination leads. Keep sculpting, building, and dreaming up new designs. The only limit is your creativity!