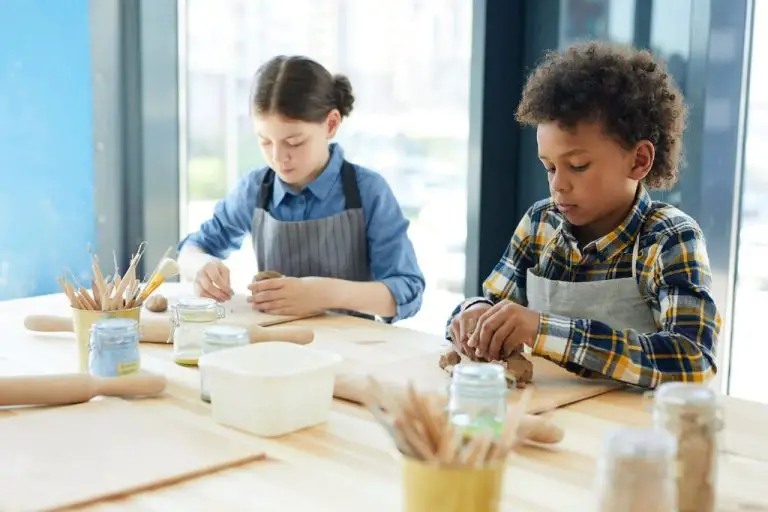
Mess-Free Clay Art Projects For Kids
Mess-free clay projects are a fun and engaging activity for kids that provide a range of benefits. Unlike traditional clay that requires cleanup, mess-free clays allow kids to play and create art without the mess. Mess-free clay stimulates curiosity, motivates problem-solving, and leads to unique creations.
This guide will provide an overview of different types of mess-free clay, required tools and supplies, creative clay recipes to make at home, and ideas for clay sculpting, painting, collages, imprint art, and more. Tips for properly displaying kids’ clay masterpieces will also be included.
With mess-free clay, kids can sculpt, mold, and shape endless creations using their imagination. The projects in this guide will inspire creativity, build confidence, and provide engaging hands-on fun without the need for cleanup.
Types of Mess-Free Clay
When choosing clay for kids’ projects, it’s best to use clays that don’t harden or dry out. This allows the clay to be reused again and again for endless creativity. Popular mess-free clay options include:
Play-Doh – This classic modeling clay has been a favorite for generations. It’s non-toxic, soft, and easy for small hands to manipulate. Play-Doh comes in a variety of bright colors like red, blue, green and yellow.
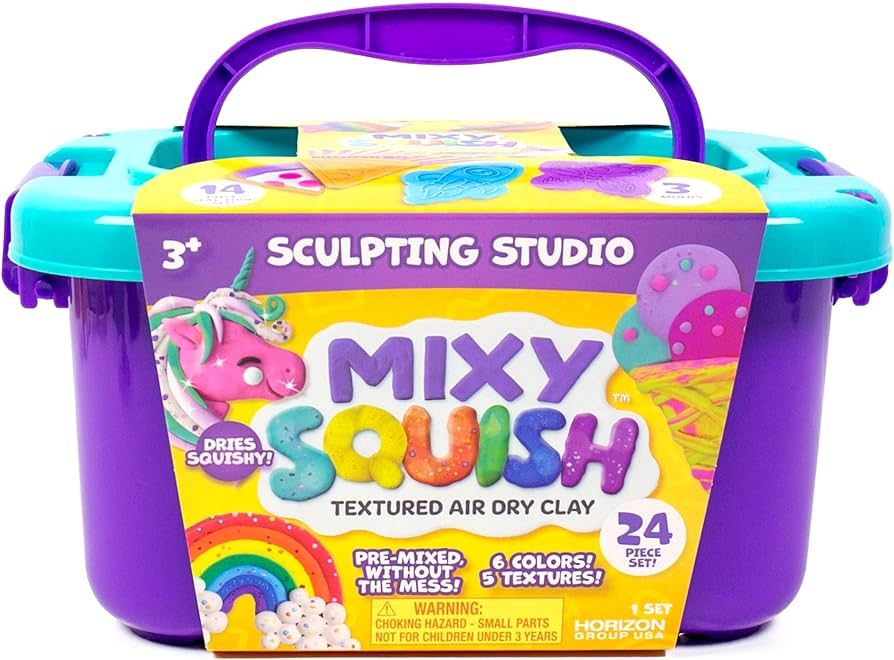
Sculpey Non-Dry Modeling Clay – Made by a leading clay manufacturer, Sculpey’s non-dry clay never hardens so it can be used over and over. It has a smooth, doughy texture that’s great for sculpting.
Crayola Model Magic – This lightweight clay alternative feels similar to foam. The soft, spongy texture lends itself well to sculpting and crafts. It can also be painted once dry.
Tools and Supplies
When using mess-free clay with kids, you’ll want to have some basic tools on hand. Two essential tools are rolling pins and cookie cutters. Rolling pins are useful for rolling out slabs of clay to a uniform thickness before cutting shapes. Look for lightweight plastic or wooden rolling pins sized for little hands. Cookie cutters make it easy to cut repeatable shapes like circles, stars, hearts, and more. Get a variety pack of small cookie cutters in plastic, metal, or wood. Between rolling pins and cookie cutters, kids can easily create flat clay shapes for imprinting or adding texture.
Mess-Free Clay Recipes
There are several ingredients you can mix together to create homemade modeling clay that is completely edible and safe for kids. Two popular no-cook mess-free clay recipes include using baking soda or cornstarch.
Baking soda clay is made by mixing together baking soda, corn starch, and water. This air dry clay does not require cooking and can be molded into different shapes and creations. Baking soda gives the clay elasticity so it doesn’t crack when drying.
For an edible mess-free clay, you can make a dough using corn starch and water. Mix together 1 cup corn starch and 1/2 cup water and knead until it forms a dough consistency. More water can be added for optimal consistency. Store unused clay in an airtight container. Since this clay is made using food-safe ingredients, it can be eaten after playing.
Both baking soda clay and cornstarch clay provide hours of creative fun for kids without the mess of traditional clays. Allow the clay creations to air dry completely before handling and displaying.
Clay Sculptures
One of the most popular mess-free clay projects for kids is sculpting. Air dry clay is perfect for creating 3D sculptures and figures. Some ideas for clay sculptures include:
- Animals – Let kids sculpt their favorite real or imaginary animals like dogs, cats, dinosaurs, dragons, unicorns, etc. Encourage them to add details like eyes, ears, tails, wings, scales, etc. to make their creations come to life.
- Letters – Kids can sculpt their initials or spell out their name in clay. Flatten and cut the clay into letter shapes or roll coils to form each letter.
- Shapes – Simple shapes like circles, squares, triangles, hearts, and stars make great first clay sculptures for young kids. Show them how to roll coils and balls of clay to form geometric shapes.
Clay sculptures allow kids to use their creativity and build 3D works of art with their hands. Let them create anything they can imagine with mess-free clay!
(Source: https://artfulparent.com/15-amazing-crayola-air-dry-clay-art-projects-for-kids/)
Clay Imprint Art
Making imprints in clay is a fun mess-free way for kids to get creative. You can press different objects into clay to leave behind an imprint or texture. Nature items like leaves, pinecones, seashells, and flowers work well for this. Kids can also make imprints of their hands, feet, and toys [1].
Before making imprints, condition the clay by kneading it for a few minutes until soft and pliable. Roll pieces of clay into balls or flat slabs. Gently press the object into the clay at different angles and depths to get varied imprints. Try pressing with different amounts of pressure for light or deep imprints.
Let the imprinted clay air dry fully before removing the objects. Once dry, kids can paint or decorate the clay imprints. Make imprint clay coasters, frames, magnets, or ornaments. Display the finished clay creations around the home.
[1] https://www.crayola.com/crafts/air-dry-clay-imprints-craft/
Clay Collages
Clay collages are a fun mess-free art project where kids can mix collage items like buttons, beads, pasta, and more into clay. The textures and colors create visual interest.
Start by rolling out a base of clay about 1/4 inch thick. Let the kids press collage items into the clay, slightly pushing them in so they adhere. Things with holes like buttons, beads, and pasta work best. Avoid paper or cardboard as they won’t hold up to baking. Encourage kids to arrange and fill in the clay base creatively, like making patterns or pictures.
Once finished arranging, bake the clay according to package directions. The clay will harden and hold everything in place. Collage clay makes great fridge magnets, ornaments, jewelry, and more. Let kids paint and embellish baked pieces as desired.
For inspiration check out: https://www.pinterest.com/favecrafts/collage-clay-project-ideas/
Clay Painting
Painting finished clay creations is a fun way to add color and detail to your projects. Make sure the clay is fully dry before starting to paint. According to Craftyourhappyplace.com, you should not paint wet air-dry clay before it dries. Acrylic paint, tempera paint, and watercolors all work well on dried clay. Apply a sealant like Mod Podge or acrylic sealer before painting to help the paint adhere. Start with lighter colors and work up to darker colors. Allow the paint to fully dry between coats. You can add layers of paint to create dimension. Consider using paint pens or gel pens for finer details. Painting opens up many possibilities for customizing your clay projects with beautiful designs.
Displaying Clay Creations
After your kids have created their clay masterpieces, find creative ways to showcase their art at home. Displaying their work will make them feel proud and encourage them to keep being creative.
Hang clay creations on the wall using command hooks or mounting putty. Place particularly fragile pieces inside a picture frame to help protect them. For 3D pieces, use acrylic risers to elevate sculptures and show them off around the home.
Shadow boxes and repurposed containers like jars or wooden boxes make perfect homes for small clay creations. Let kids help decorate the display containers by painting them or gluing on bits of ribbon, fabric or collage papers.
For extra flair, set up a gallery wall showcasing a collection of your child’s clay art. Arrange pieces by color, shape, or theme for a coordinated look. Change it up periodically to give different creations the spotlight.
Not every clay project needs to live inside. Try pressing flatten clay creations into garden stones or attaching sculptures to stakes to display outside. Just seal porous clay first with an acrylic spray to help weatherproof it.
Displaying kids’ art boosts their confidence and self-expression. With a little creativity, their clay masterpieces can be shown off stylishly around your home.
Mess-Free Clay Tips
When working with mess-free clay, there are a few tips to keep in mind for optimum results and easier cleanup:
Properly store clay between uses. Wrap tightly in plastic wrap or place in a resealable bag and squeeze out excess air before sealing. This prevents the clay from drying out. Stored properly, mess-free clays can be reused for 6 months or more.
To soften clay that’s dried out, knead in a few drops of water until pliable again.
Keep a wet paper towel or baby wipe handy while sculpting to clean hands. Avoid getting water or moisture directly on the clay which can alter the texture.
Use a non-stick work surface when rolling, sculpting, or flattening clay. Wax paper, plastic tablecloths, or acrylic sheets prevent sticking.
If projects become firmly stuck to a surface, try placing the item in the freezer for 10-15 minutes. The clay will contract slightly for easier removal.
When baking clay, follow package directions carefully. Underbaking can result in weak, fragile pieces. Overbaking may cause scorching or cracking.
Allow clay pieces to fully cool and harden after baking before handling. Clay is delicate until completely dry and hardened.
Consider treating finished pieces with a clay sealer or clear acrylic spray. This helps protect the clay and provides a nice finished sheen.