How Do You Make Something Like Clay?
Clay is a type of fine-grained natural soil that contains minerals like silica and alumina that give it plasticity when mixed with water. With its moldable and durable properties, clay has been used for centuries to create pottery, sculptures, bricks, tiles and various crafts. Homemade clay offers an affordable and customizable alternative to store-bought clay for crafters and artists. The goal of this guide is to provide instructions on how to make your own clay at home using basic ingredients.
Ingredients
The main ingredients used to make homemade clay are:
- Flour – All-purpose flour works best. Start with 2 cups.
- Salt – 1/2 cup of table salt.
- Water – Start with 1 cup of water and add more as needed.
- Oil – 2 tablespoons of vegetable oil.
The basic proportions for homemade clay are 2 parts flour, 1 part salt, and 1 part water. The oil helps make the clay more pliable. You can adjust the amounts of each ingredient based on the consistency you want for your clay.
Optional Additives
While the basic clay recipe only requires a few simple ingredients, you can customize your clay by adding optional ingredients for color, scent, or texture. Here are some ideas for fun additives:
- Food coloring or liquid watercolors – Add a few drops to tint your clay any color you like. Start with just a little and add more if needed for a bolder hue.
- Glitter – For sparkly clay, mix in fine glitter. Avoid larger glitter chunks as these can be abrasive and hard to smooth into the clay.
- Essential oils – A few drops of oils like lavender, lemon, or peppermint will scent your clay. Be careful with staining oils like cinnamon.
- Spices – Spices like cinnamon, turmeric, or paprika can naturally tint the clay. Use sparingly as some spices can overpower the clay’s texture.
- Seeds, coffee grounds, oats – Adding various natural materials can create an interesting tactile surface for sculpting.
Get creative and make custom clay blends to suit your projects! Just test any additives in a small amount first to ensure they mix well before adding to a large batch.
Mixing Process
The mixing process is a critical step in making clay dough. Here are the key steps:
First, combine the dry ingredients like flour or cornstarch in a large bowl. Make sure to break up any lumps. Next, add the wet ingredients like water, oil, or cream of tartar. Mix the wet and dry ingredients together with a spoon, spatula, or your hands.
Once the ingredients start coming together, it’s time to knead. Kneading is the process of working and folding the clay to bind the ingredients together into a smooth, elastic dough. Turn the clay dough out onto a clean surface dusted lightly with flour. Using the palms of your hands, push into the clay and fold it over itself.
Knead the clay for 3-5 minutes. The clay will start off crumbly but become smoother and more elastic as the gluten strands develop. Add more flour if it gets sticky. Knead until the clay is a uniform consistency with no dry pockets. The finished dough should be soft, smooth, and not sticky.
Proper kneading is the key to creating clay that hardens well and has a nice texture for crafting. Take your time working the clay thoroughly during this mixing process.
Textures
One of the great things about homemade clay is that you can create different textures and feels. Here are some tips for achieving different textures with your clay:
Smooth
For a smooth texture, make sure your clay mixture is well blended. Remove any lumps or dry bits. You can also knead the clay mixture thoroughly until it becomes soft and pliable. Roll it out flat using a rolling pin. Smooth the surface using your fingers or a soft cloth. The more you work the clay, the smoother it will become.
Bumpy
To give your clay a bumpy texture, add things like sand, rice, or dry pasta. These additives will create small bumps and grooves as they get worked into the clay. Another option is to roll small balls of clay into the surface using your fingers. Press down so they adhere but still create an uneven, bumpy texture.
Gritty
For a gritty texture, add a coarse material like fine gravel, birdseed, or coffee grounds. The rougher the additive, the grittier the clay will feel. Experiment with different additives in small batches to achieve the exact gritty texture you want. Stir the additives in thoroughly so they distribute evenly throughout the clay.
Get creative with different additives and tools to create unique clay textures for your projects. The possibilities are endless!
Drying and Curing
After your clay has been mixed and kneaded to the right consistency, it needs to be properly dried and cured. There are two main ways to dry and cure clay – air drying and baking.
Air Drying
Air drying involves leaving your clay creations out at room temperature to harden. This is the slowest method, but requires no additional equipment. Air drying can take 24-48 hours or sometimes longer depending on the size and thickness of the pieces as well as the climate. The process can be sped up by placing pieces in a warm, dry area with good air circulation. Avoid any direct heat sources like heaters or direct sunlight which could dry the clay unevenly.
Baking
Baking clay in an oven is a much faster drying method, usually taking only 15-30 minutes. Baking helps harden and solidify the clay by evaporating the water content. Most oven-bake clays cure at temperatures between 130-275°F. Carefully follow the baking instructions on the clay package – baking at too high of a temperature can cause cracking or scorching. Let pieces cool completely before handling after baking.
Baking produces harder, more durable clay items than air drying. The quicker method also allows you to work on projects more rapidly. However, baking does require access to a kitchen oven.
Consider the size, thickness, and detail of your clay pieces when deciding between air drying and baking. Thinner, smaller items will air dry faster, while thicker, larger pieces benefit more from baking. Intricate pieces with finer details also tend to harden better in the oven.
Crafting
There are many creative items you can make from homemade clay:
-
Sculptures – Make anything from simple shapes to intricate figurines. Sculpt busts, animals, abstract art, and more.
-
Beads – Roll pieces into balls or custom shapes, then pierce them to string into necklaces, bracelets, and other jewelry.
-
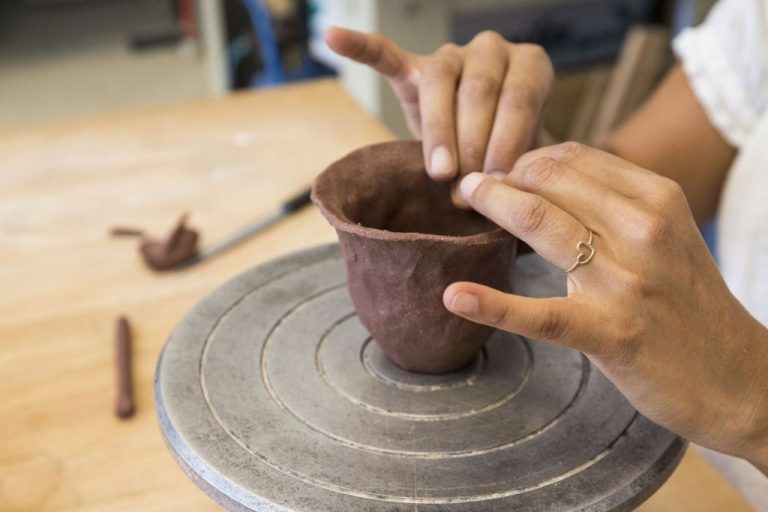
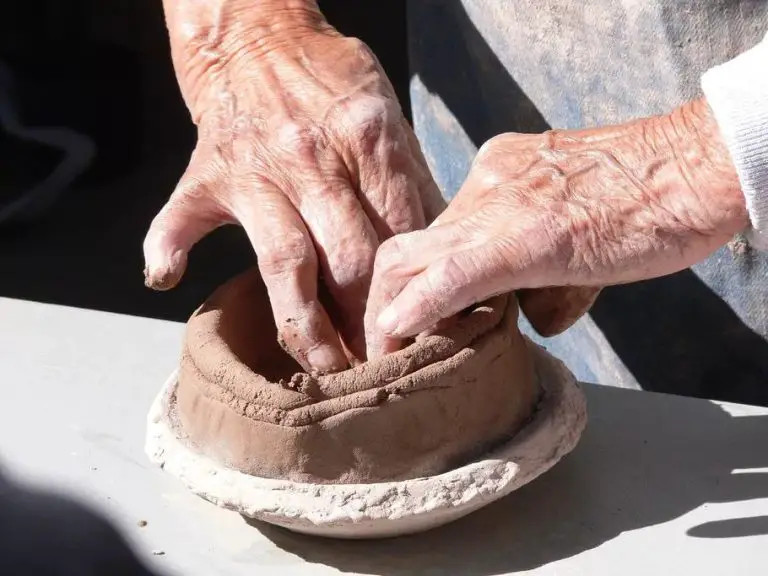
Bowls, pots, and vases – Throw or hand build containers on a pottery wheel or using slabs and coils.
-
Tiles – Press out flat square or shaped pieces to create custom decorative tiles.
-
Game pieces – Make game tokens, chess pieces, miniature items for dioramas, and other accessories for play.
-
Ornaments – Craft seasonal decorations like Christmas tree ornaments, menorah decorations, etc.
Let your imagination guide you in making homemade clay creations! Experiment with different shapes, textures, and finishing techniques.
Storage
Proper storage is essential for maintaining the quality and usability of homemade clay. The main goal is to prevent the clay from drying out completely or developing mold.
Store unused clay in an airtight plastic bag or container. Squeeze out any excess air before sealing to minimize exposure to oxygen, which can dry out the clay. Glass jars or plastic containers with tight lids work well. For larger batches, you may need a few containers.
Add a damp paper towel or piece of cloth in the container to help regulate moisture. The clay should feel cool and slightly moist to the touch, not wet. If it starts to feel dry or crack, add a bit of water.
Keep homemade clay in a cool, dark place like a cupboard or pantry. Avoid places like windowsills that can get hot and dry the clay faster. Refrigeration can extend the shelf life, but is not required.
Check regularly for any mold growth, which appears as white or colored fuzzy patches. Discard any molded clay. Prevent mold by ensuring clay is mixed thoroughly and keeping storage containers sealed.
With proper airtight storage, homemade clay can last for several months. If it starts to dry out or you won’t use it soon, consider recycling the clay.
Safety
When working with polymer clay, it is important to keep safety in mind. Here are some tips:
Use caution with tools – Clay cutting tools and sculpting tools can be sharp. Use care when handling them to avoid cuts. Supervise children when using sharp tools.
Beware of baking temperatures – Polymer clay cures at relatively low temperatures, usually around 130°C. However, oven doors and trays can still get hot. Use oven mitts when removing items from the oven. Keep flammables away from the baking area.
Don’t eat raw clay – Polymer clay contains chemicals that should not be ingested. Avoid touching your face when working with raw clay. Wash hands after sculpting. Only eat clay items after they have been properly cured.
Work in a ventilated area – Some clays release fumes when baked. Work in an area with good airflow. Do not breathe in fumes.
By following basic safety tips, polymer clay can be an enjoyable, hazard-free hobby. Use common sense and caution when working with this crafting medium.
Conclusion
Crafting your own homemade clay can be enjoyable and rewarding. The basic ingredients are easy to obtain, and allow for creativity in choosing additives for texture and color. While the mixing and kneading process takes some physical effort, you are left with a malleable clay that air dries in a relatively short time. Store unused clay wrapped in a plastic bag or sealed container to keep it from drying out. Craft clay into any shape you desire whether a functional pot or whimsical sculpture. With a range of finishes from glossy to crackled, you can create unique pieces of art. Homemade clay provides an accessible way to express your creativity through sculpting.